Install Guide - AI Plugin - AI Account Reconciliation (PFC)
The following article contains instructions for installing the Plugin Financial Close solution. Prior to installing Plugin Financial Close, ensure that the AIS Dependency Bundle is installed.
Purpose
Goal: Walk an administrator from zero to the first validated anomaly in the AI Account Reconciliation integration so stakeholders can start tuning for production.
Prerequisites & Roles
System requirements & versions
-
OneStream platform version and AI Services version compatible with the version of “AI Plugin - OneStream Financial Close” you are installing.
-
The initial release of the “AI Plugin - OneStream Financial Close” PFC-SV110-XPFv4.1.0-PV910 Release Notes
-
The following dependencies are required for the initial release
- XBR-SV210-XPFv4.1.0-PV910
- Xperiflow v4.1.0
- OFC PV900 SV200
-
People & roles
- Installer / Admin: Member of OneStream Administrators group who will upload and perform initial setup of XAT. (Required for XAT install.)
- OFC Admin: Team member(s) responsible for data rule tuning and validation (should have XAT access per steps below).
Data
- Implementation of Account Recs is complete.
Quick overview
- Install XAT and AI Plugin.
- Create a Personal Access Token (PAT) and attach it to the
Systemuser. - Configure XAT access controls.
- Create the Anomaly Arena to ensure a clean environment for tuning.
- Run an initial baseline scoring job on historical data to collect metrics.
- Iteratively tune data rules and thresholds until the anomaly list is useful and actionable.
- Validate and sign off the first set of anomalies.
Install & initial setup
1. Download + Install AIS Dependency Bundle
-
Follow the Install Guide - AIS Dependency Bundle for the download and install steps.
- Verify OneStream Platform/Xperiflow versions
- Download the correct AIS Dependency Bundle from Solution exchange
- Upload via OneStream client Application → Tools → Load/Extract.
2. Download + Install XAT
-
Follow the Install Guide - Xperiflow Administration Tools (XAT) for the download and install steps:
- Verify OneStream Platform/Xperiflow versions
- Download the correct XAT solution from Solution Exchange
- Upload via OneStream client Application → Tools → Load/Extract,
- Then run Create Tables & Validate Endpoint, and Launch.
3. Install the AI Plugin — OneStream Financial Close
-
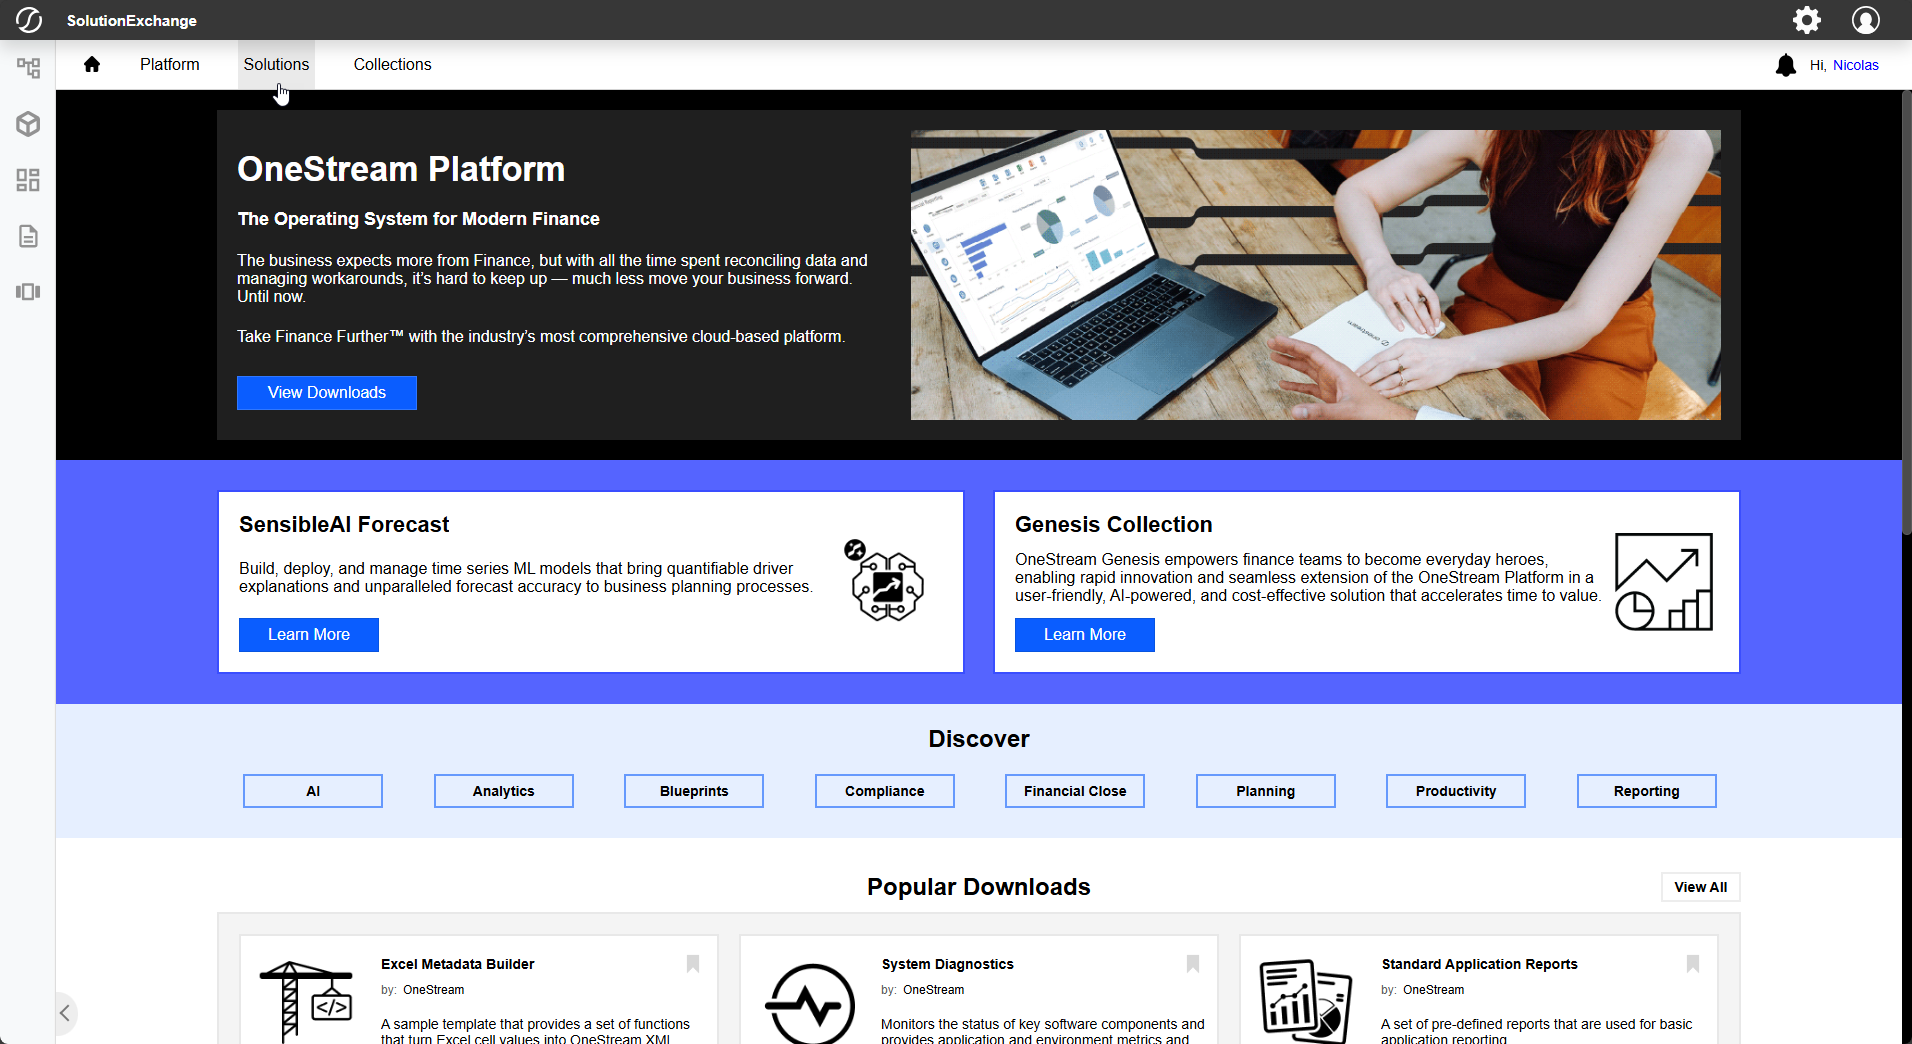
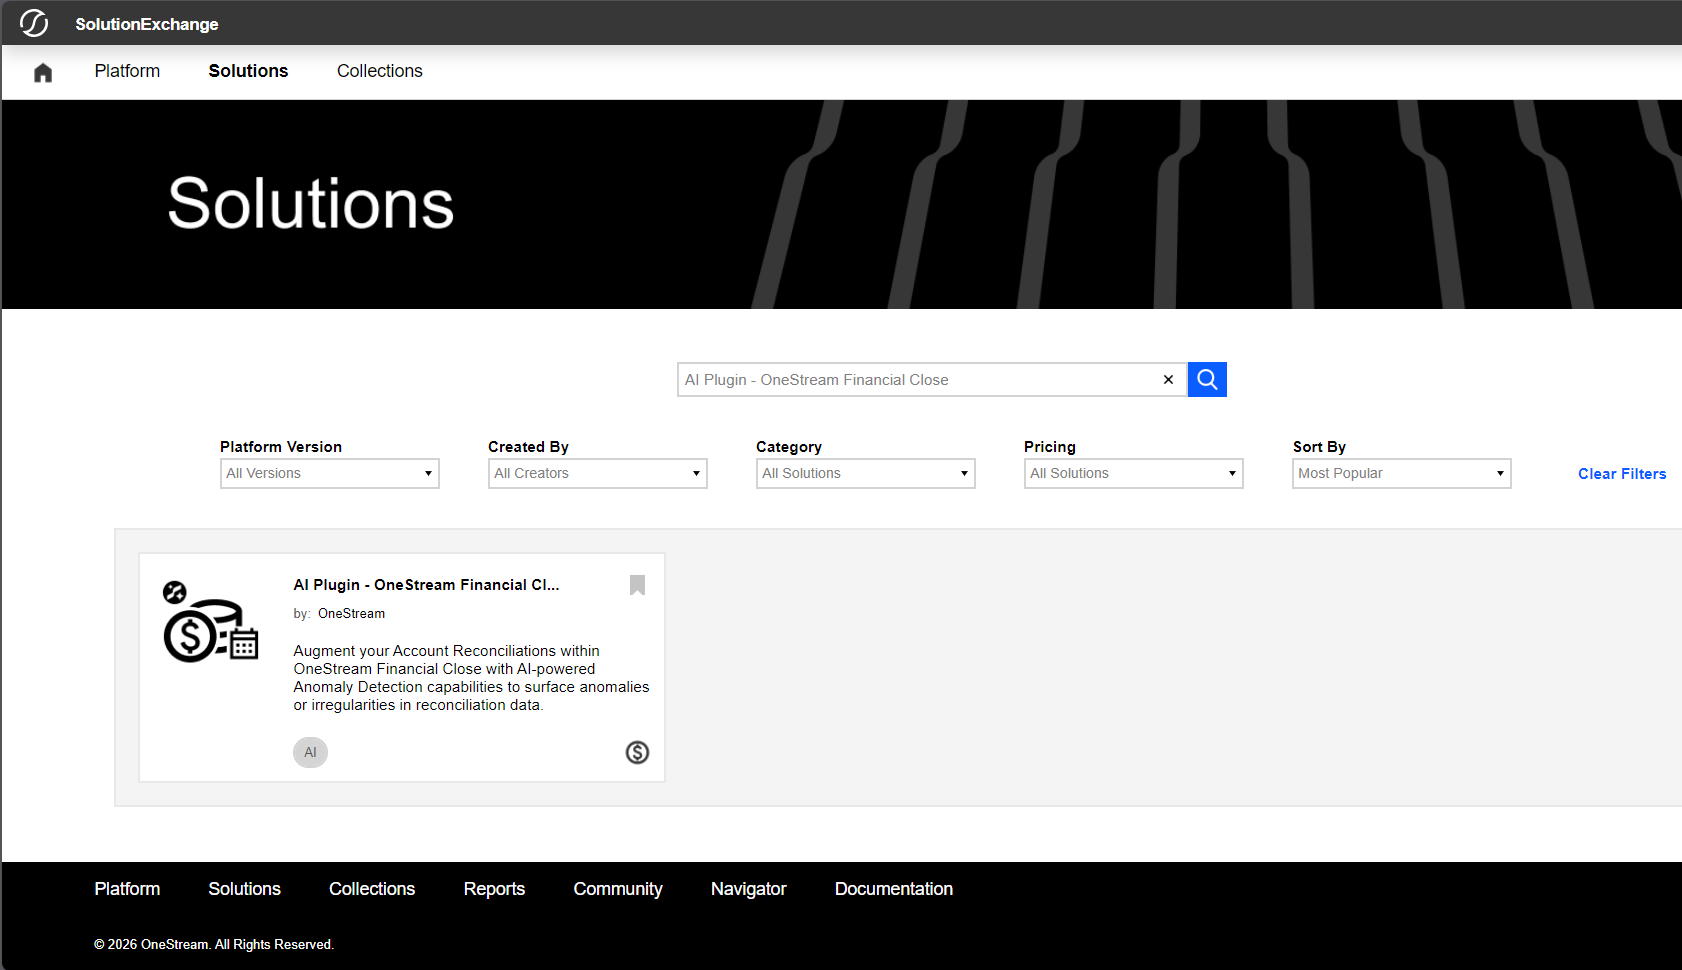
Navigate to Solution Exchange → “AI Plugin - OneStream Financial Close”
-
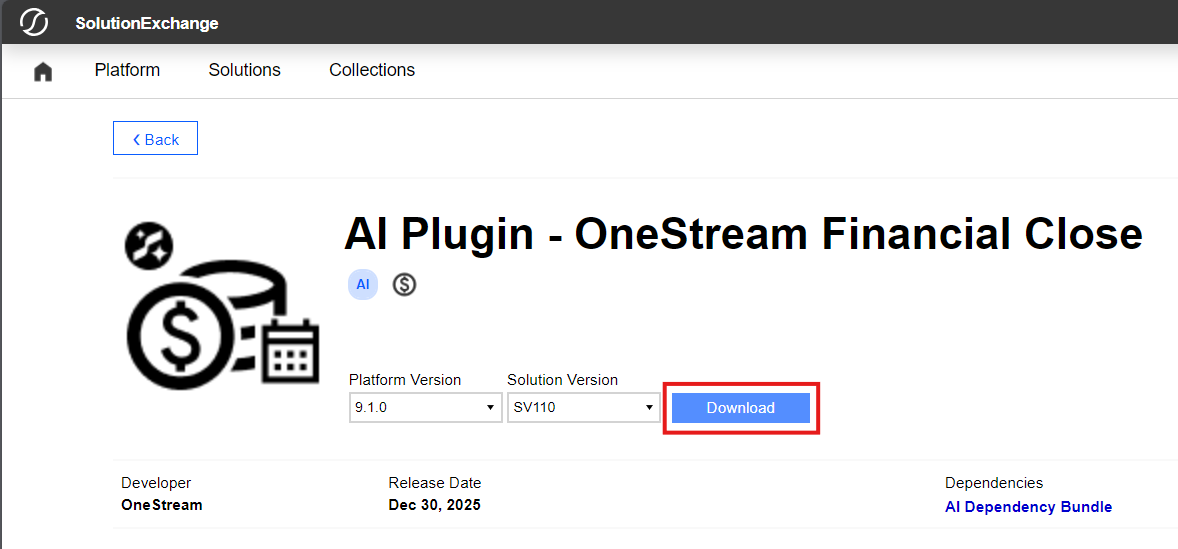
Download the correct plugin version for your OneStream Platform version and AIS Dependency Bundle version, then upload the plugin to OneStream via Application → Tools → Load/Extract.
- See the Xperiflow Compatibility Guide v4.1.0 and the Install Guide - AIS Dependency Bundle for more information on specific versioning.
- Screenshots below walk through the install flow.
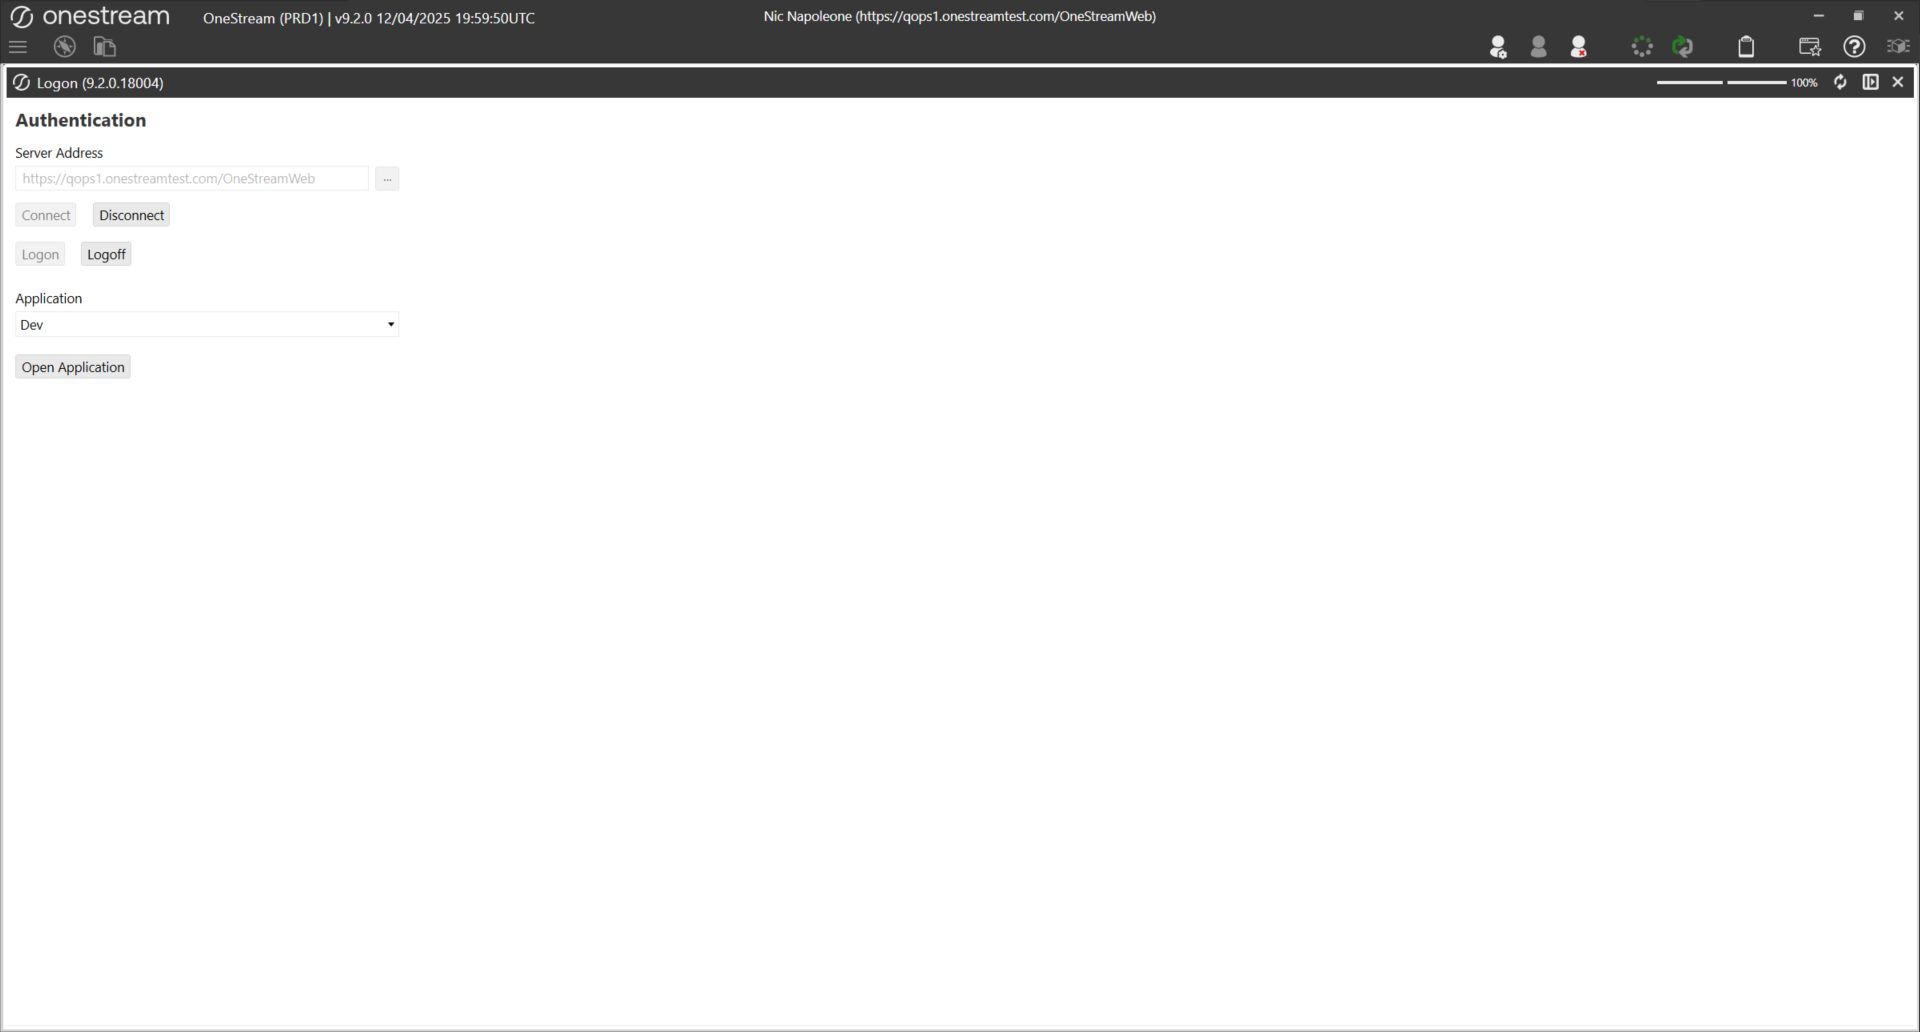
With your solution downloaded, open your OneStream Client, connect to your Server, log in, and select the desired Application for installing the new solution.
Make sure that your Platform Version matches your new solution’s Platform Version. Solutions may not launch or function properly on incorrect Platform Versions.
To upload your Solution, select the Application tab, then under Tools select Load/Extract.

Select the ellipsis … to open your local File Explorer. Select your downloaded Solution, then Open, and finally the Load button to upload the Solution to the environment.
If a copy of the solution is already present in the environment, you will likely receive an error during upload. If that is the case, delete or uninstall the prior solution to upload the new one.
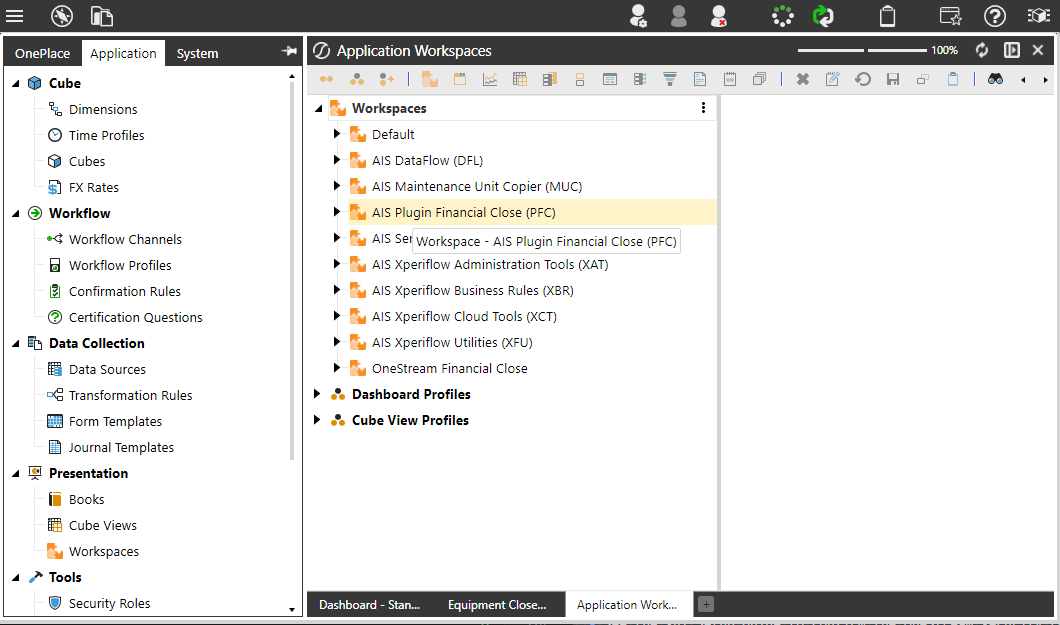
To verify the install completed successfully, open the Workspaces window under Presentation.
4. Create/Attach the PAT (Personal Access Token)
-
Follow the(XAT) Personal Access Token Setup Guide .
- Create a PAT per the XAT PAT guide: Identity & Access Management Portal → Manage Personal Access Tokens → Create Token → copy the token ID.
- Edit the System user and paste the PAT token ID into the Personal Access Token field, Save. Important: copy the token before leaving the token creation window — it can’t be retrieved later.
5. Initial XAT Access
(XPF) Functional XAT Overview
Why
Ensure the environment has an authorized administrator who can manage AI Account Reconciliations configuration and access control.
What
This step establishes an initial RSI (Role-Scope-Identity) assignment in XAT by assigning the Administrator role to the admin user in the Global scope.
An RSI assignment ties together:
- Identity (the user),
- Role (Administrator), and
- Scope (Global).
Granting a Global Administrator role ensures the admin user has full permissions to configure detectors, manage rules, create scopes, and manage subsequent access assignments.
How
-
Navigate to XAT - Access Controls.
-
From the Identity page, create a new User.
- Find your user’s account and proceed through the guided workflow to add an Identity for your user.
-
Once created, navigate to the Assign page.
-
Create a new RSI Assignment.
-
Select:
- Scope: Global
- Role: Administrator
- Identity: Your admin user
-
Confirm the assignment.
You now have full administrative access to configure AI Account Reconciliations.
Solution Setup and Creating the Arena
Why: Start tuning from a clean slate.
What: Creating a new Arena establishes an isolated configuration space for this instance of Account Reconciliations. The Arena provides a clean baseline where anomaly detectors and finance-owned data rules can be enabled, adjusted, and tuned without impacting other environments.
How:
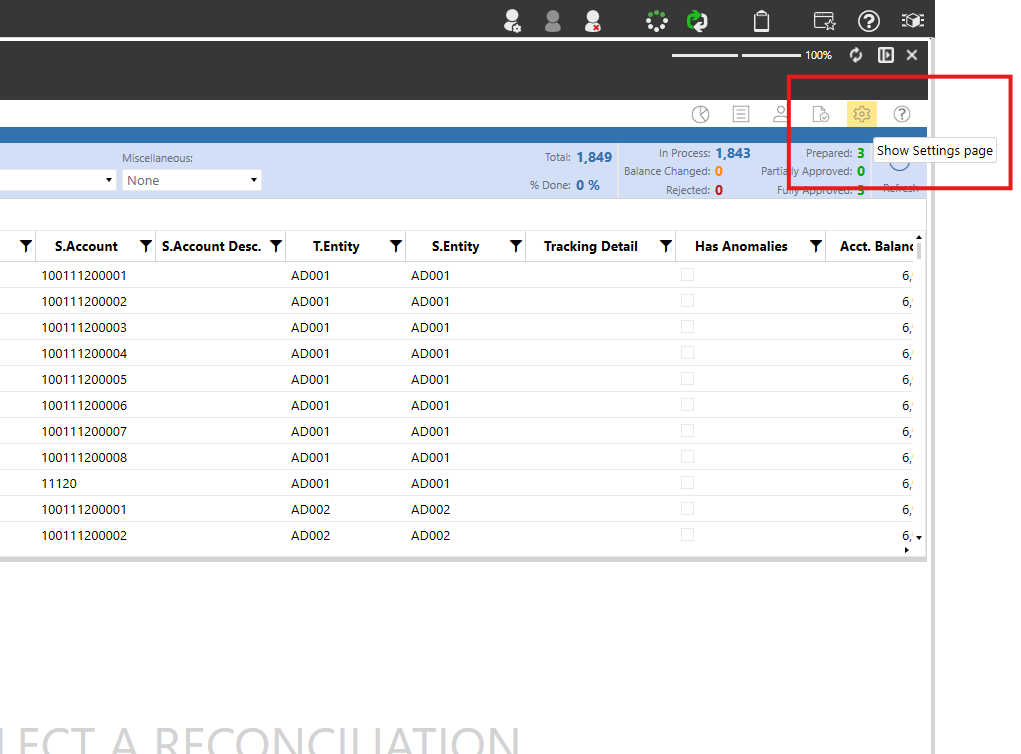
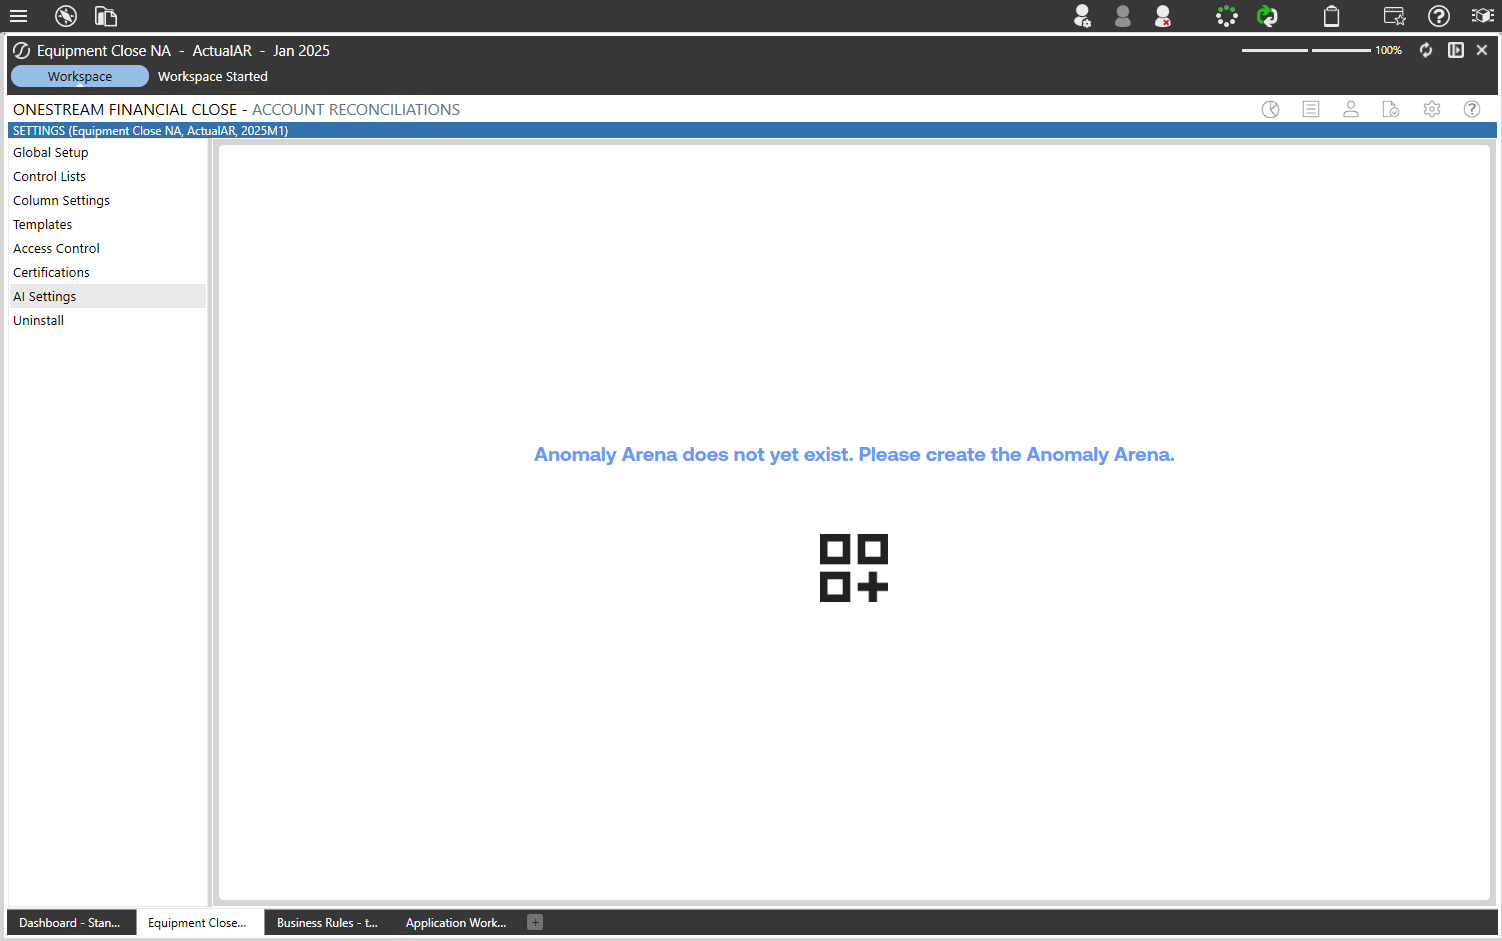
Go to the AI Settings Page by opening your Account Recs grid view and clicking the “Settings” gear to ensure correct setup.
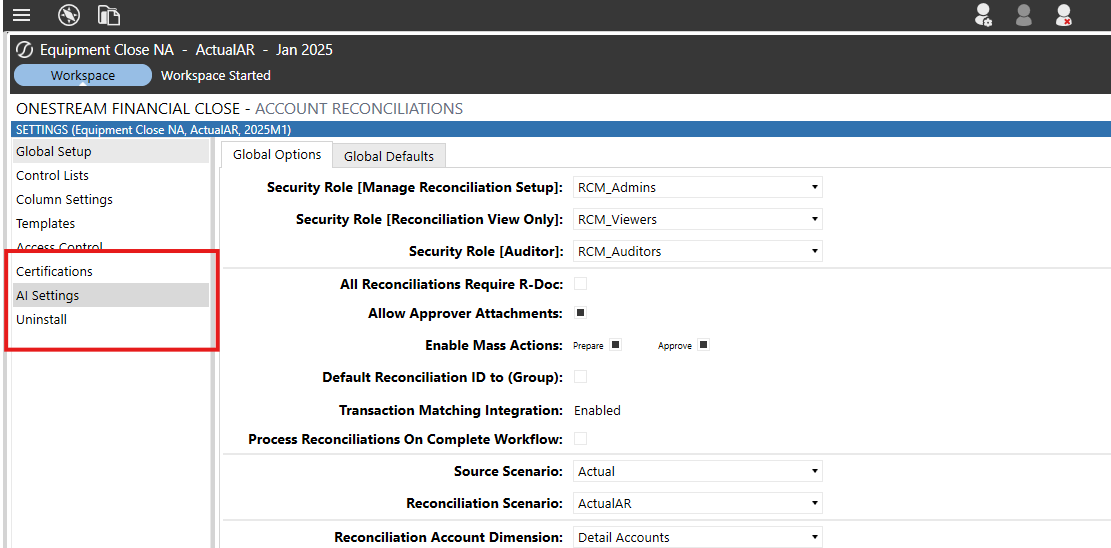
In the Account Reconciliation Solution settings, you will find a new selection on the left sidebar “AI Settings”
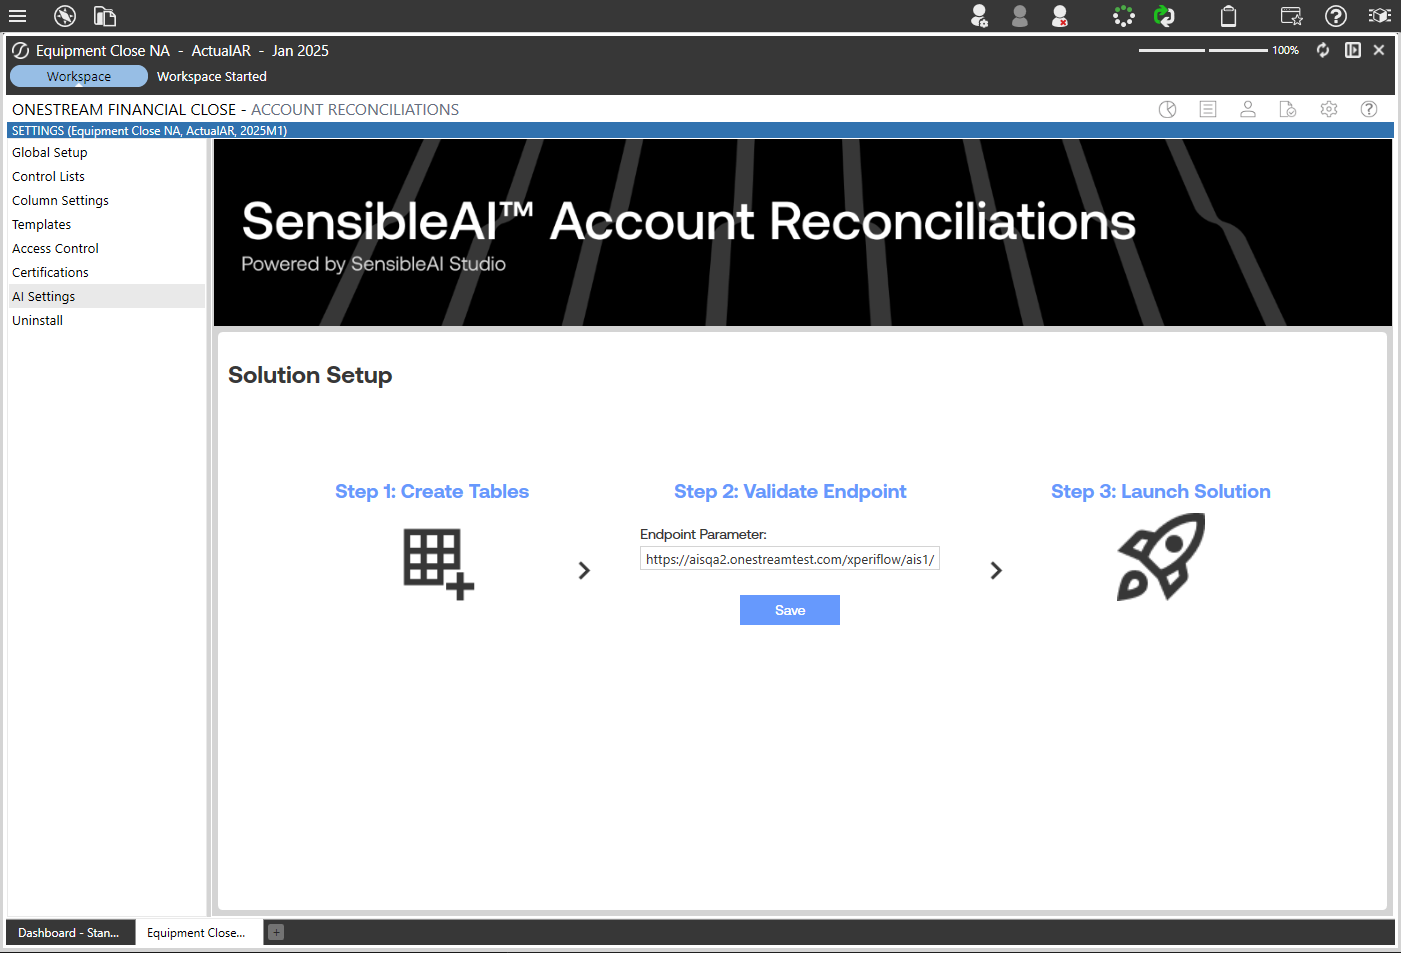
This screen should be displayed upon initial setup. Click the Grid with a + icon first, then press the Save button, if no URL is in the “Endpoint Parameter” field, ask your OneStream contact for the correct url, then finally press the Launch Solution button.
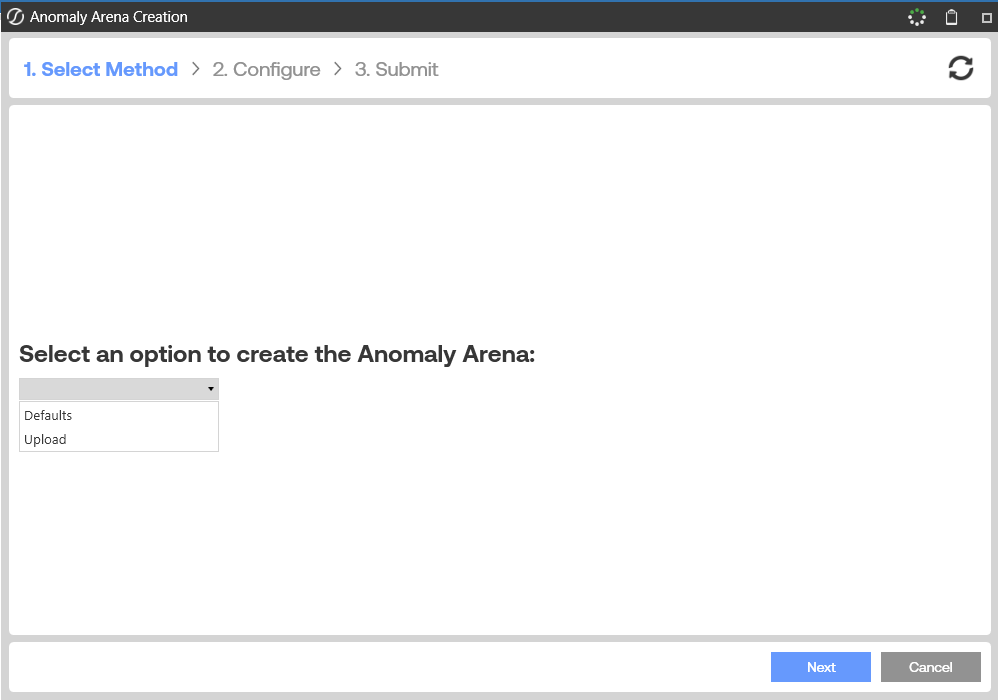
At this point we will create the arena. Press the icon with the + button and follow the steps selecting the Defaults unless you are sure you know what you are doing and have an export of rules already.
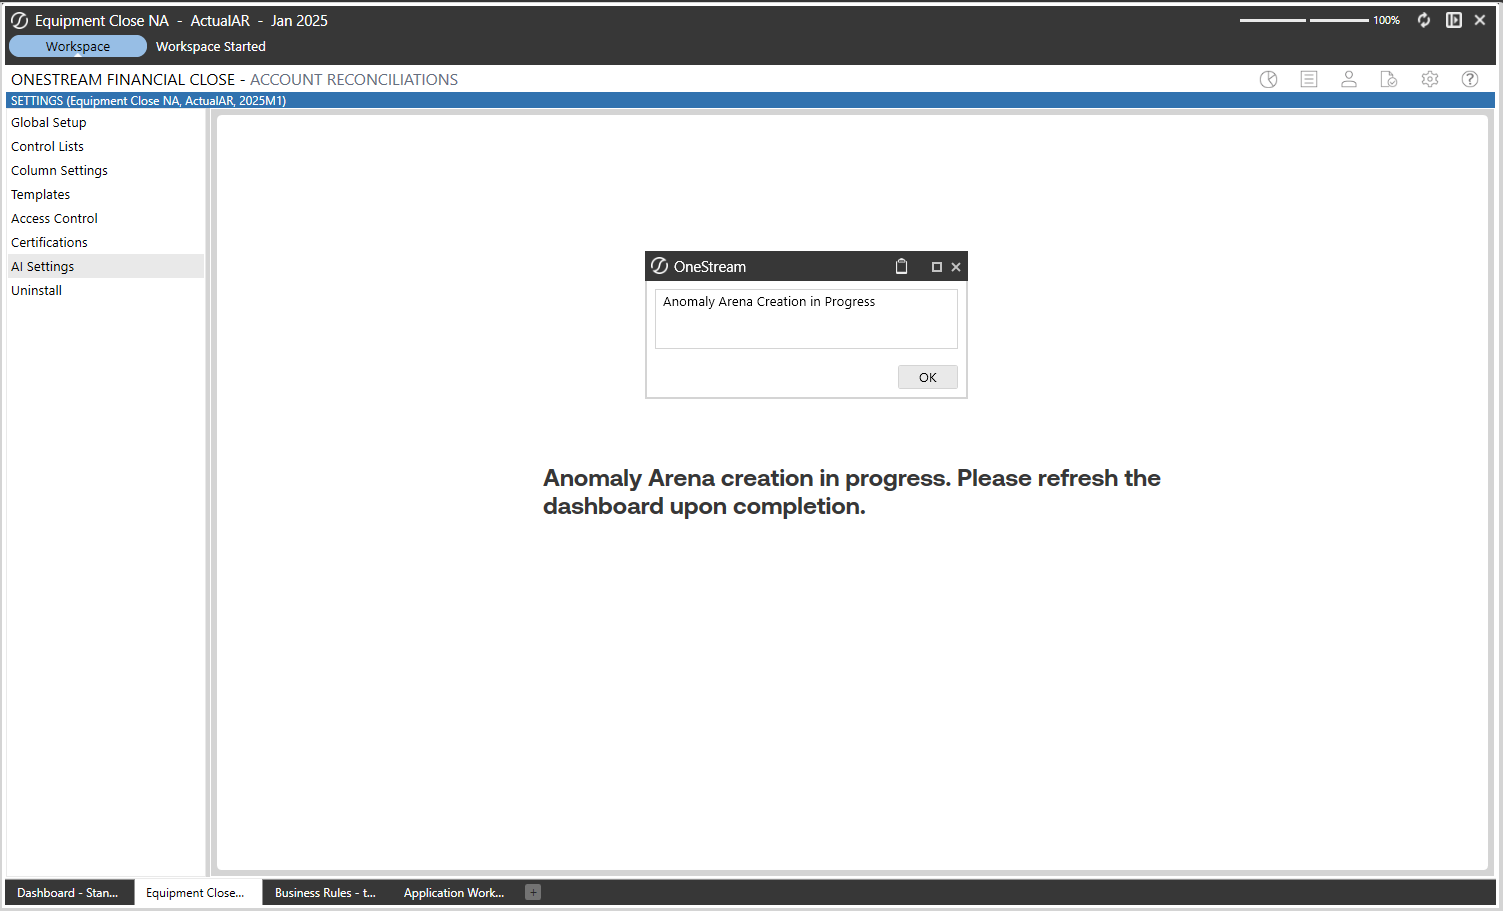
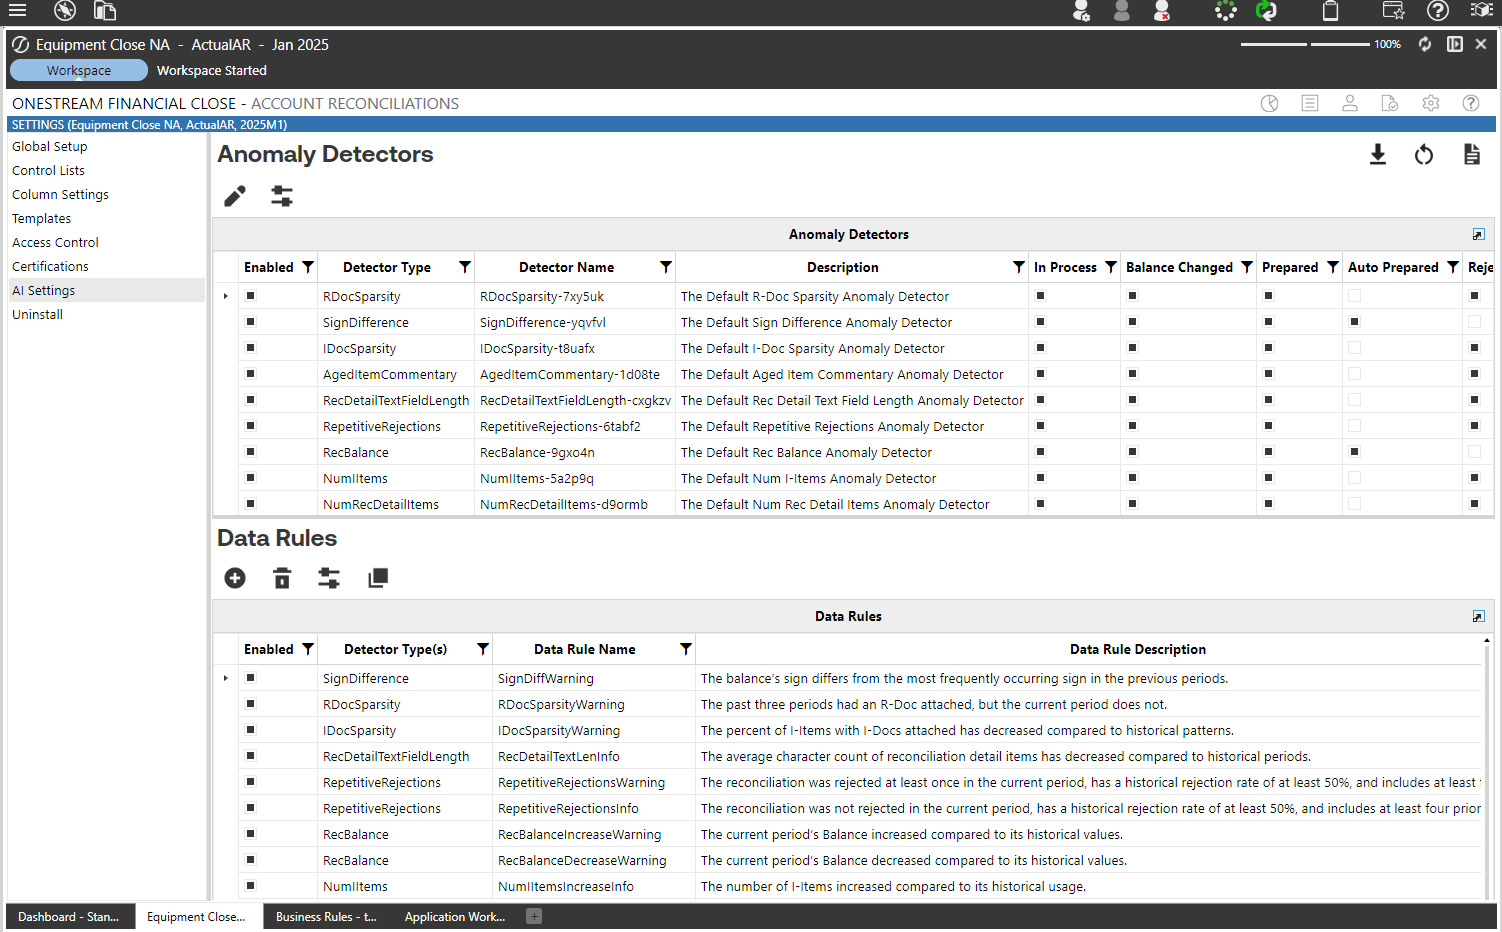
Creating the Anomaly Arena will take a minute, once the task is completed, give the page a refresh and you will see the settings page with all default Anomaly Detectors and Data Rules
Data onboarding & baseline run
Goal: Score historical data to generate baselines and initial anomaly candidates.
Steps
-
Initial rule set: use the plugin default rules for the baseline run.
-
Run baseline scoring job: run the job to generate anomalies and get counts in the anomaly summary.
-
Capture results: anomaly totals, distribution of anomaly scores, per-rule counts.
- See the new Anomaly Summary pane in the existing “Analysis & Reports” dashboard withing the Account Recs solution.
-
What to inspect after the baseline run
- Total anomalies and anomalies per rule.
- Severity distribution
- Top anomaly examples
- False positive rate after manual inspection.
Data Rule Tuning: the iterative loop
High-level loop
-
Run baseline and collect anomaly counts by detector.
-
Inspect detector counts to find which detectors produce most flags.
-
Adjust statistical thresholds (
PValue,ZScore) first, then adjust short-term sensitivity (RollingZScore).-
How to make a new rule from an existing one.
-
Find the Copy a Data Rule button on the AI Settings page
Follow the workflow, selecting the rule you want to adjust and going through the flow.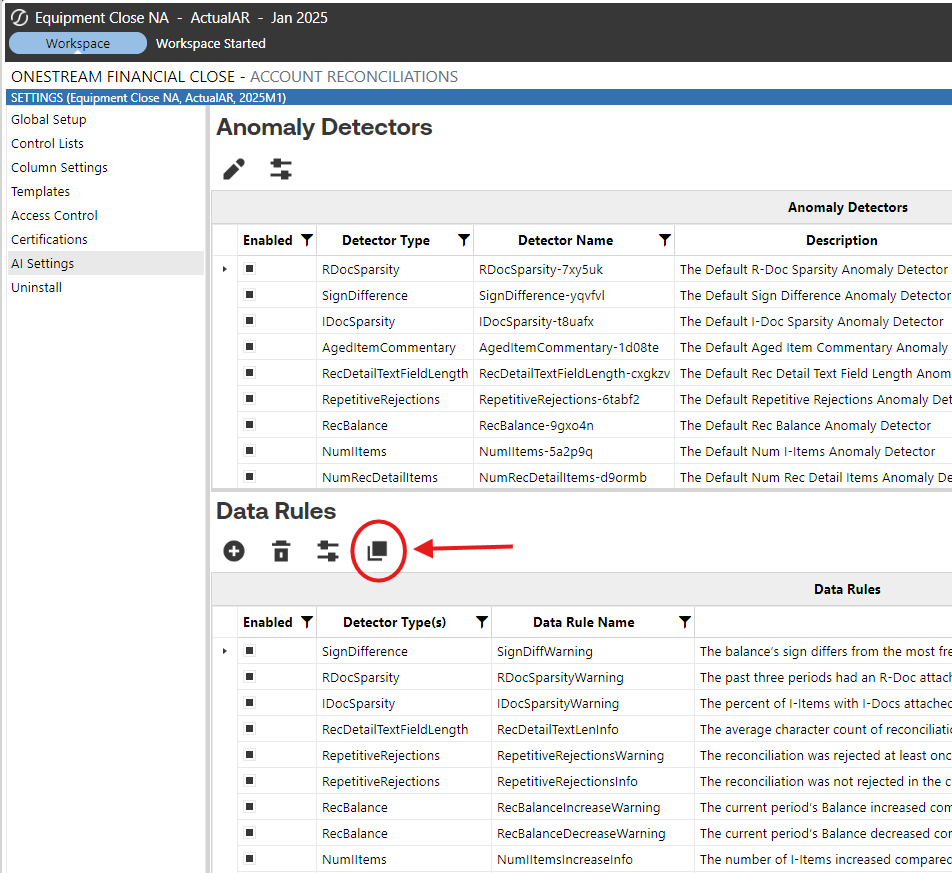
-
-
Target or exclude specific accounts and entities (
SAccount,SEntity) if detectors still misbehave. -
Re-run, sample anomalies, note any trends, and identify any rules you’d like to change further.
-
Repeat until acceptable precision + volume and anomalies are actionable.
High-level loop
Common Scenarios & How to Fix Them
Flagging Too Much
Summary: When the system is flagging overly many anomalies, inspect detector-level counts first and then make detectors more restrictive.
What to change
- Check counts per detector to find the main contributors.
- For detectors that use statistical metrics, tighten
PValue(example targets: 0.10 → 0.05 → 0.01 → 0.005) or increase theZScorecritical value (e.g., move from 1.645 → 1.96 → 2.576). - If the detector is still noisy, tighten
RollingZScore(make the short-term test more conservative). - If statistics are not the cause, narrow the rule’s scope with
SAccount/SEntityexclusions or create an account-specific rule with looser/tighter thresholds. - For detectors that use other metrics, review and tighten those specific columns (see detector overview).
Detectors often adjusted for over-flagging: AgingChanges, IItemCount, ItemCount (number of detail items), ReconciliationBalance, IItemPctWithIDoc, AvgCharCount.
Flagging Too Little
Summary: When too few anomalies appear, loosen thresholds and/or increase detector sensitivity.
What to change
- Loosen
PValueand/or reduce theZScorecritical value (e.g., 1.96 → 1.645). - Then loosen
RollingZScore(use smaller magnitude critical values for recent-period tests). - For detectors with use-case metrics (lookbacks, prior-usage percentages), adjust lookback windows or lower the prior-usage cutoffs so the detector is more sensitive.
- If a detector still reports nothing, validate with domain experts — it could mean there actually are no anomalies.
Typical knobs: PValue, ZScore, RollingZScore, Prior3RDocUsagePct / Prior6RDocUsagePct, NumberOfLookbackPeriods.
Identifying Recent Trends
Summary: To capture both long-term deviations and short-term shifts, combine long-term and short-term statistics.
Guidance
- Use
PValue(orZScore) ANDRollingZScoretogether so an event must deviate historically and recently. - If
PValueis unavailable, aZScore+RollingZScoreorIQR/Tukey+RollingZScorepairing is an alternative. - Relying on
RollingZScorealone emphasizes the last few periods and increases false positives versus combining it with a long-term measure.
Columns to combine: PValue, ZScore, RollingZScore, AvgAgingDaysPctChg, DifferencePrevPeriod.
Exclude Specific Accounts / Entities
Summary: Exclude inherently volatile accounts or entities rather than forcing global threshold changes.
How
- Use
SAccountand/orSEntityto exclude reconciliations from a Data Rule. - Or create a separate rule scoped to those accounts with different thresholds (for example, cash accounts with wider
ZScorebounds).
Columns to use: SAccount, SEntity.
Creating Critical and Warning Rules
Summary: Support both warning and critical severities, but prevent overlap by adding a numeric bound that separates the two.
How
- Create two rules at different severities that share the same statistical measures (e.g.,
PValue,ZScore,RollingZScore) but use a separate numeric column such asBalanceAbsDiffto separate warning vs. critical ranges. - Make sure the numeric bounds (e.g.,
BalanceAbsDiff < Xfor warning andBalanceAbsDiff >= Xfor critical) do not overlap so both don’t fire simultaneously.
Columns to consider: PValue, ZScore, RollingZScore, BalanceAbsDiff.
Flagging Anomalies by Direction of Change
Summary: If direction (increase vs decrease) matters, separate increase and decrease rules using directional statistics.
How
- Use
ZScore,RollingZScore, orDifferencePrevPeriodto capture direction. - You can use a single metric (direction-only), two metrics (direction + short-term), or all metrics (for conservative detection).
- Use conventional critical values for statistical thresholds (e.g., 1.96 ≈ 5%, 2.576 ≈ 1%) when setting
ZScore/RollingZScorelevels.
Columns to use: ZScore, RollingZScore, DifferencePrevPeriod.
Document Type Indifference
Summary: If the organization treats any document type as sufficient, tune document detectors to look for any attached doc rather than a specific type.
How
- For R-/S-/T-/I-Doc detectors, check
HasRDoc,HasSDoc,HasTDoc, orIItemsPctWithIDoc. - To be indifferent to doc type, require that no doc types are present to trigger a flag (
HasRDoc = False AND HasSDoc = False AND HasTDoc = False), or requireIItemsPctWithIDoc= 100 if you want every I-Item covered.
Columns to consider: HasRDoc, HasSDoc, HasTDoc, IItemsPctWithIDoc.
Practical tuning tips & auditability
- Tuning log: export the anomaly configuration after every edit. Record date, rationale, and before/after detector counts.
- Use sampling: inspect the top 20–30 anomalies after any change to estimate precision.
- Prefer scope over global change: exclude specific high-variance
SAccountorSEntitybefore changing global thresholds when possible. - Severity bounds: when creating Warning + Critical, use numeric columns (e.g.,
BalanceAbsDiff) to keep ranges non-overlapping. - Document policy choices: record decisions like “any doc type acceptable” so future admins replicate the same logic.
Quick checklist for a tuning iteration
- Check anomaly counts by detector.
- Inspect top 20 anomalies for True Positives and False Positives.
- Adjust
PValueorZScoreif the detector has it (first change). - Adjust
RollingZScoreif necessary (second change). - For more simple detectors like the Document sparsity, try just adjusting the simpler thresholds to get the result you desire.
- Narrow scope / exclude accounts via
SAccount/SEntityif necessary. - Log changes and rationale.
Validate first anomalies (what “good” looks like)
Acceptance checklist for “First Anomaly” demo
- System shows anomalies in the UI and anomaly detail pages are accessible.
- An initial set of ~10–50 anomalies (depending on data size) has been manually inspected.
- Anomalies are actionable: each anomaly includes context to help owners can investigate.
- XAT access and PAT configuration are verified and documented.
PFC Scope for AI Account Reconciliations
Why
Restrict AI Account Reconciliations access to only the appropriate Financial Close users and roles, aligning with least-privilege access principles.
What
The AI Account Reconciliations integration introduces a “PFC” (Plugin Financial Close) scope within XAT.
Rather than granting broad Global access, users should be assigned roles within the PFC solution scope to ensure permissions are limited to the reconciliation solution.
Access is controlled through RSI assignments that combine:
- Identity (recommended: groups, not individual users),
- Role (Viewer, Editor, Manager, or custom), and
- Scope (PFC solution scope).
This allows organizations to:
- Limit permissions to the Financial Close solution
- Separate Development vs Production access (if applicable)
- Align reconciliation access with preparer/approver responsibilities
Best Practice: Use Groups
Access should be assigned to groups, not individual users.
Benefits:
- Simplifies onboarding/offboarding
- Keeps RSI assignments stable
- Aligns with enterprise identity management
- Supports nested groups where applicable
How
-
From the Identity page, create a new Group for your AI Account Recs Users
- Add users to the group
-
From the Assign page, assign the scope and role.
- Select the “PFC - [Application Name]” AppSolution Scope and click next
- Select the “Admin” role and click next
- Select the group you created in the previous step, we used “AI Account Recs Users”
- Press submit to create the assignment.
For full details on Identity, Role, Scope, permission types, and RSI configuration, refer to the (XPF) Functional XAT Overview
Acceptance criteria & sign-off
For Stakeholder sign-off
- Work completed: XAT installed, plugin installed, PAT attached, AI Plugin configured, a baseline run performed, and data rules tuned.
- Deliverables: Tuning log, screenshots of runs, sample anomaly detail pages.
- Post-signoff tasks: Schedule recurring monitoring.
Troubleshooting & FAQ
Common issues
-
Plugin not launching after install? Check for a OneStream platform or Xperiflow version mismatch; re-run Create Tables & Validate Endpoint. XAT Install Guide
-
Cannot create PAT or attach it — ensure you have Identity & Access Manager privileges and follow steps to copy the token before leaving the creation screen.
- See the Install Guide - Xperiflow Administration Tools (XAT) to confirm the specific OneStream security roles that need to be applied.
-
Too many false positives — make your rules more selective; add contextual exclusions; increase z-score thresholds.
-
No anomalies after a run: reduce thresholds to be less conservative or expand the historical baseline window.