Inserting Content
The process of adding content within a Genesis instance has three distinct steps: linking existing content, which could be content developed without Genesis or a solution downloaded from Solution Exchange; injecting a Block, then configuring the same; and developing new content within the Genesis instance.
Linking Content
Click, Genesis Designer, and for this example, select the Help Application Group. If needed, select Designer Home ![]() to access Application Groups.
to access Application Groups.

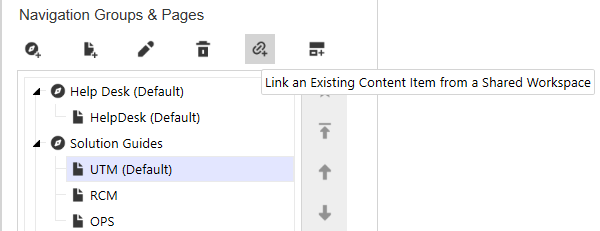
Select any page created previously. This example illustrated below will use the page created for Task Manager (UTM). With the page selected, click the paper clip ![]() icon, to select an Existing Content Item from a Shared Workspace.
icon, to select an Existing Content Item from a Shared Workspace.
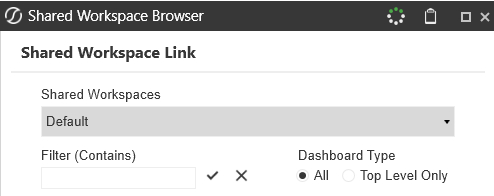
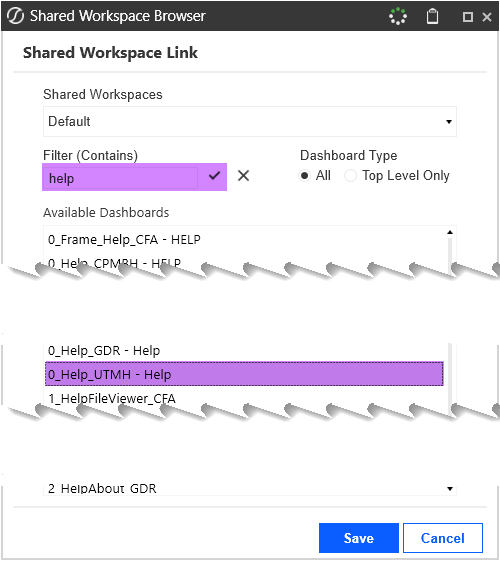
After the selection, the Shared Workspace Browser will be rendered. As the UTM dashboards are stored in the Default Workspace, which is always shared, the only step is to type “help” as a filter and then select the check mark to filter the Dashboards.
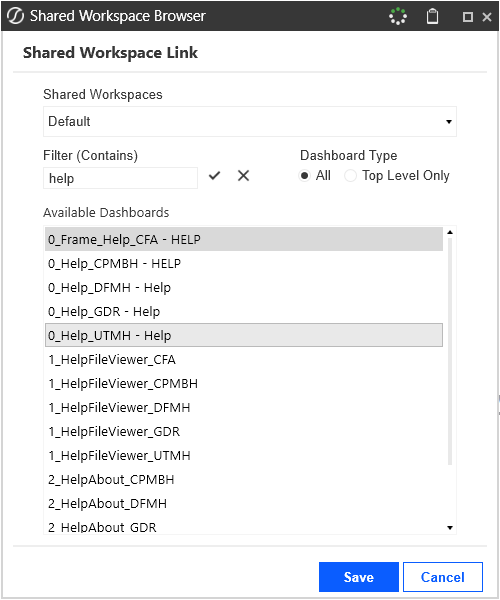
Navigate to and select the UTM Help dashboard, and then click Save.
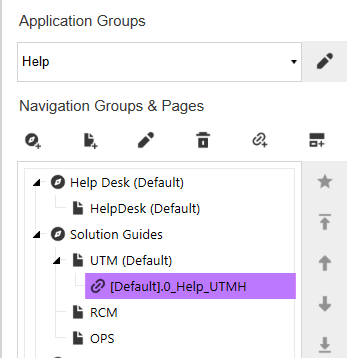
After selecting Save, the selected dashboard will appear indented below the Page to which it was linked. The naming convention is [Workspace].DashboardName, i.e., [Default] = [Workspace] and DashboardName = 0_Help_UTMH.
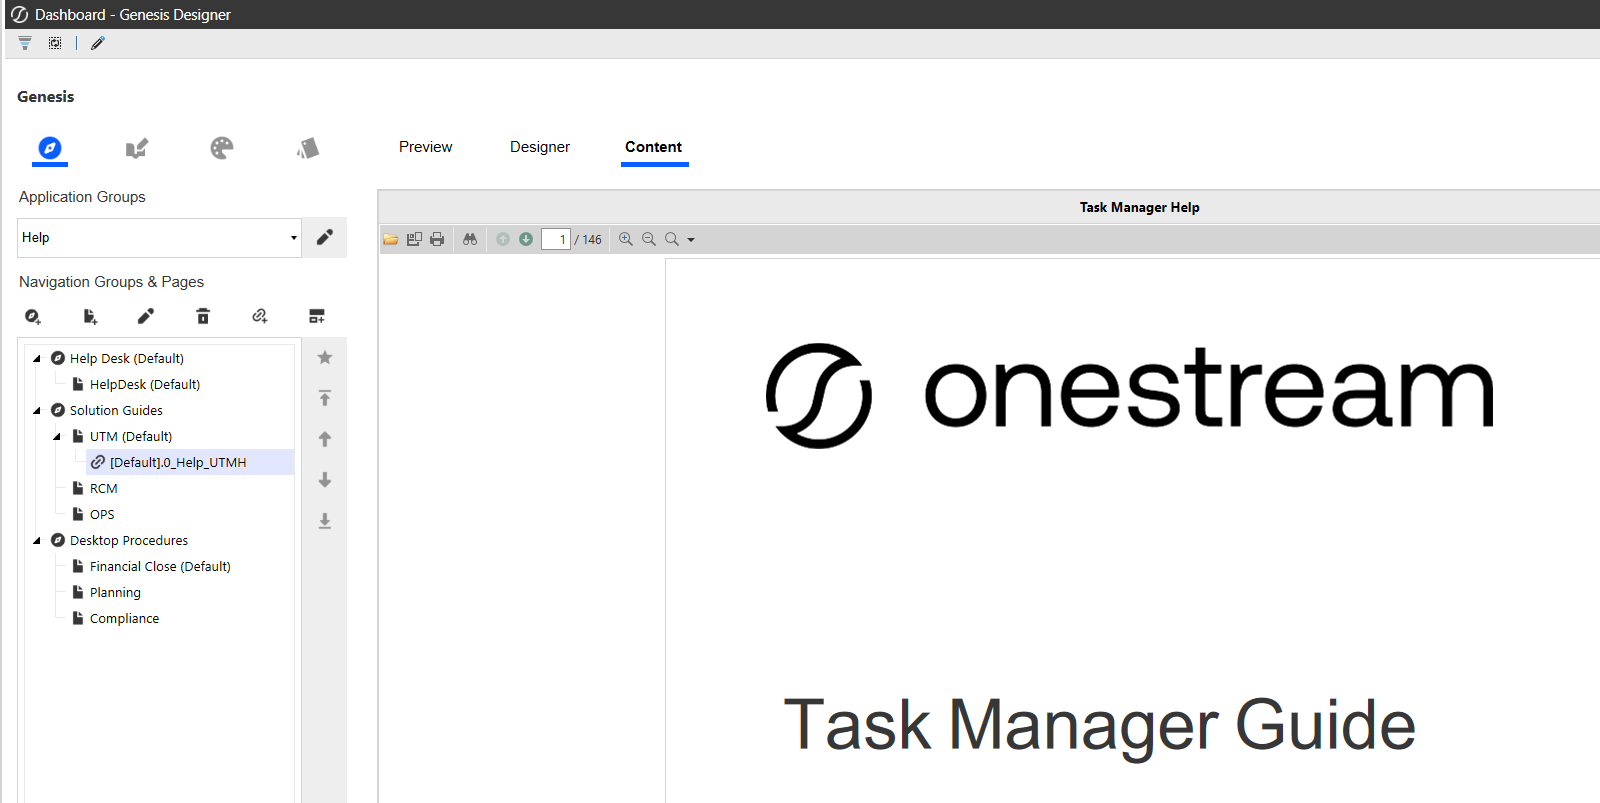
To verify the linked content, select Content from the Preview, Designer, and Content options, which in this example shows Task Manager Help.
Blocks
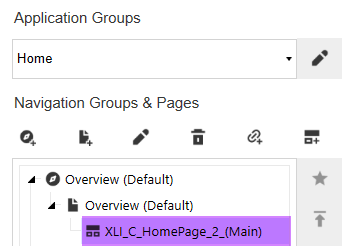
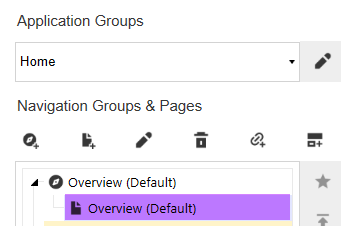
The process of adding a Block is similar to linking existing content, starting with the selection of the Page. In this example, the Homepage Block will be added to the Overview page, which was created within the Home Application Group. Begin by selecting the Overview page.
With the Overview page selected, click the Inject a New Basic Library Content Item icon ![]() .
.
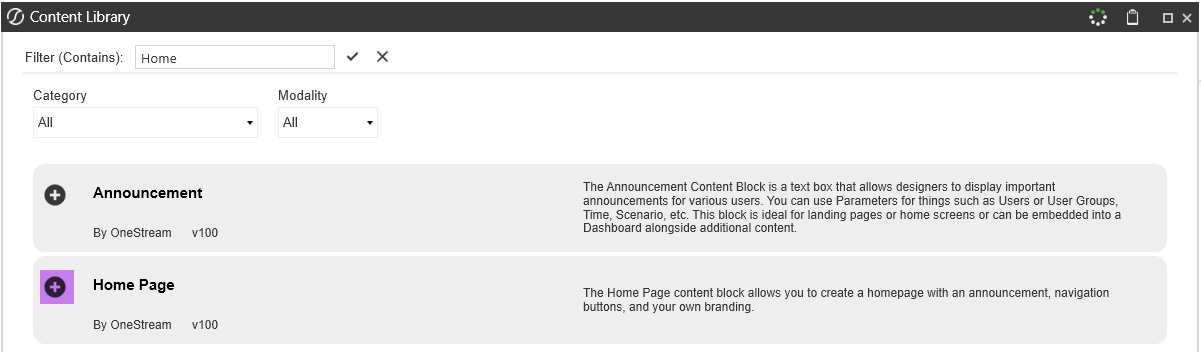
After the Content Library renders, either Filter for the Home Page block or navigate to it. Once the Home Page is displayed, select the plus icon next to the Home Page label. This image was created by filtering for Home.
The Block injected creates a Maintenance Unit prefixed with XLI, Dashboard Groups, Dashboards, Components, Assembly Files, etc., based on the Block injected, and the next image is part of the artifacts created by Block injection.
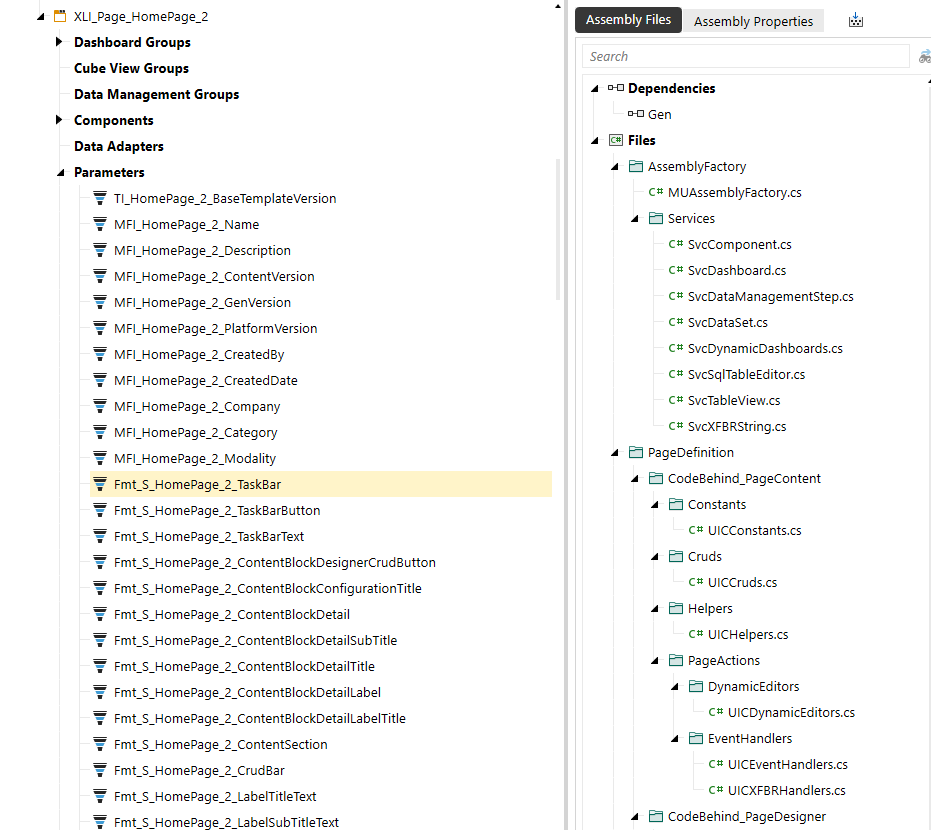
With the Block injected, the dashboard created will appear indented below the Page to which it was injected into. The naming convention is the Dashboard created within the Content Homepage Workspace (XLI\_Content\_HomePage\_2). After successfully injecting a Block, the Block can be configured by selecting Designer from the options of Preview, Designer, and Content. For additional information on managing content based on an injected Block, please refer to Content Management.