The following article contains instructions for installing the Forecast Value Add solution. Prior to installing Forecast Value Add, ensure that both the AIS Dependency Bundle and the Xperiflow Administration Tools Solution are installed. Please also ensure that you have enabled Preview Features as outlined here.
Platform Version
Your OneStream install is on a specific Platform Version, for example v9.0.0. The Platform Version for any Solution you wish to install must align with the Platform Version you have installed to ensure compatibility. A Solution built for v9.1.0 is not guaranteed to function on a v9.0.0 OneStream install.
Minor version discrepancies such as v9.0.0 vs v9.0.1 are likely to be compliant. Check with a OneStream consultant if you are unsure about version compatibility.
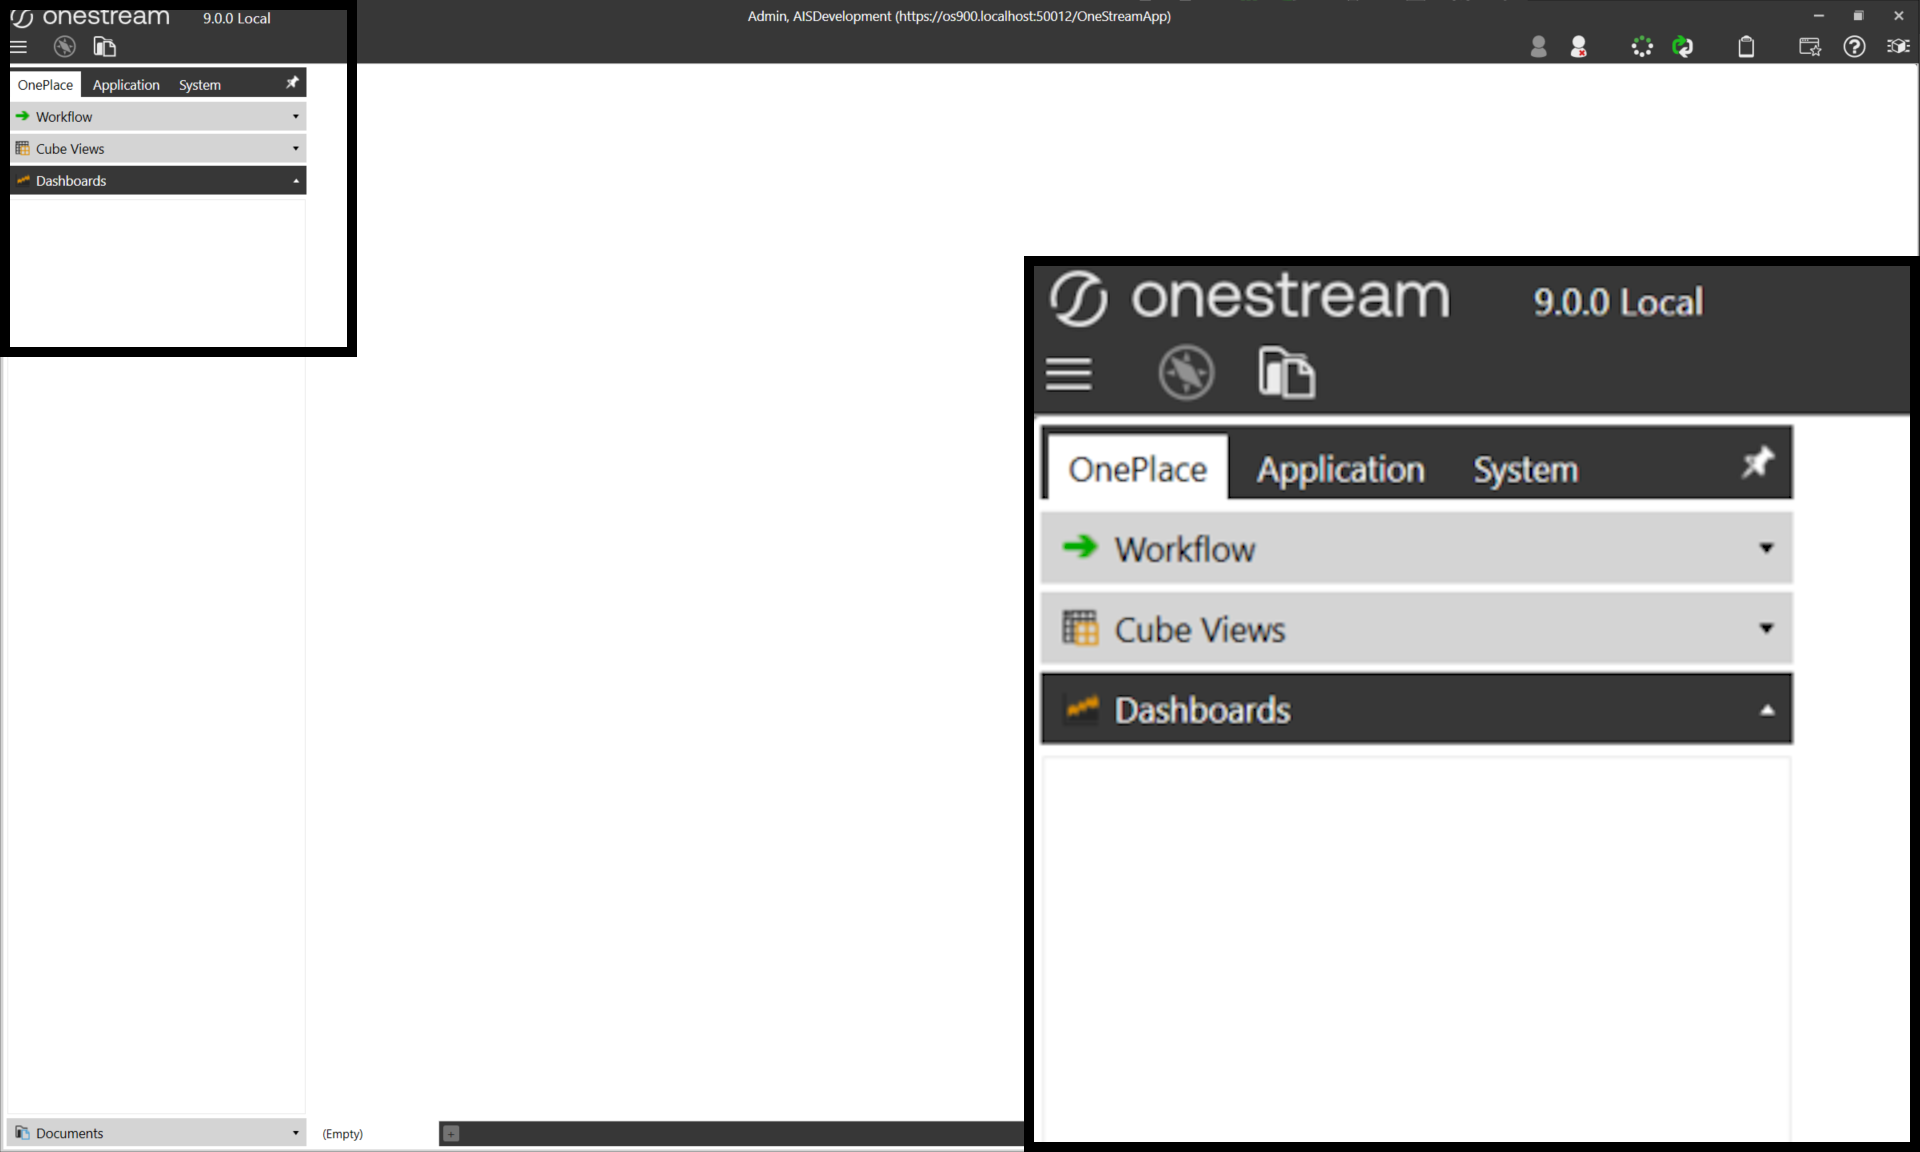
All solution uploads must be performed by a user with visibility of the Application tab within OneStream. To verify visibility, log in to your supplied OneStream client and check the left navigation window. The Application tab mustbe visible to load solutions into your environment.
Xperiflow Version
Along with the Platform version, Solutions are released alongside a specific Xperiflow Engine version as well. A misalignment between a Solution’s target Xperiflow version and your environment’s Xperiflow version may create compile and/or runtime issues.
Download
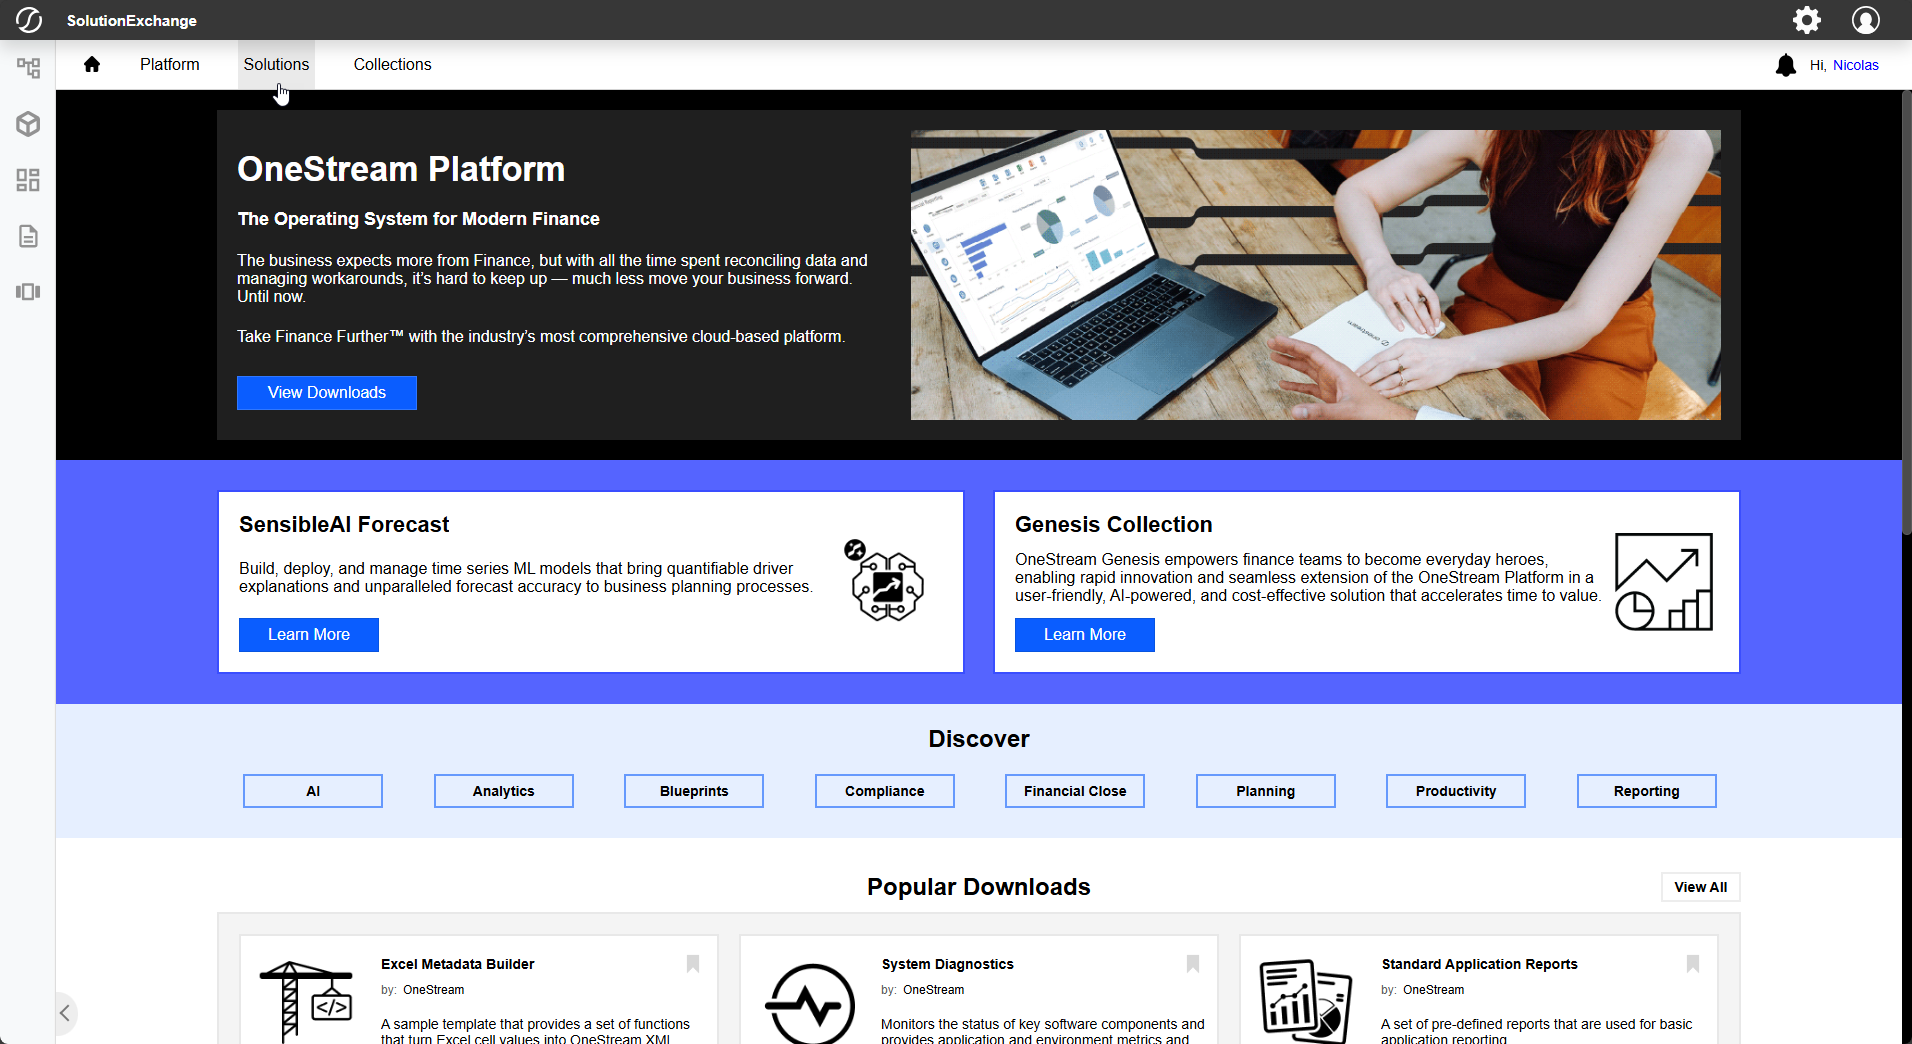
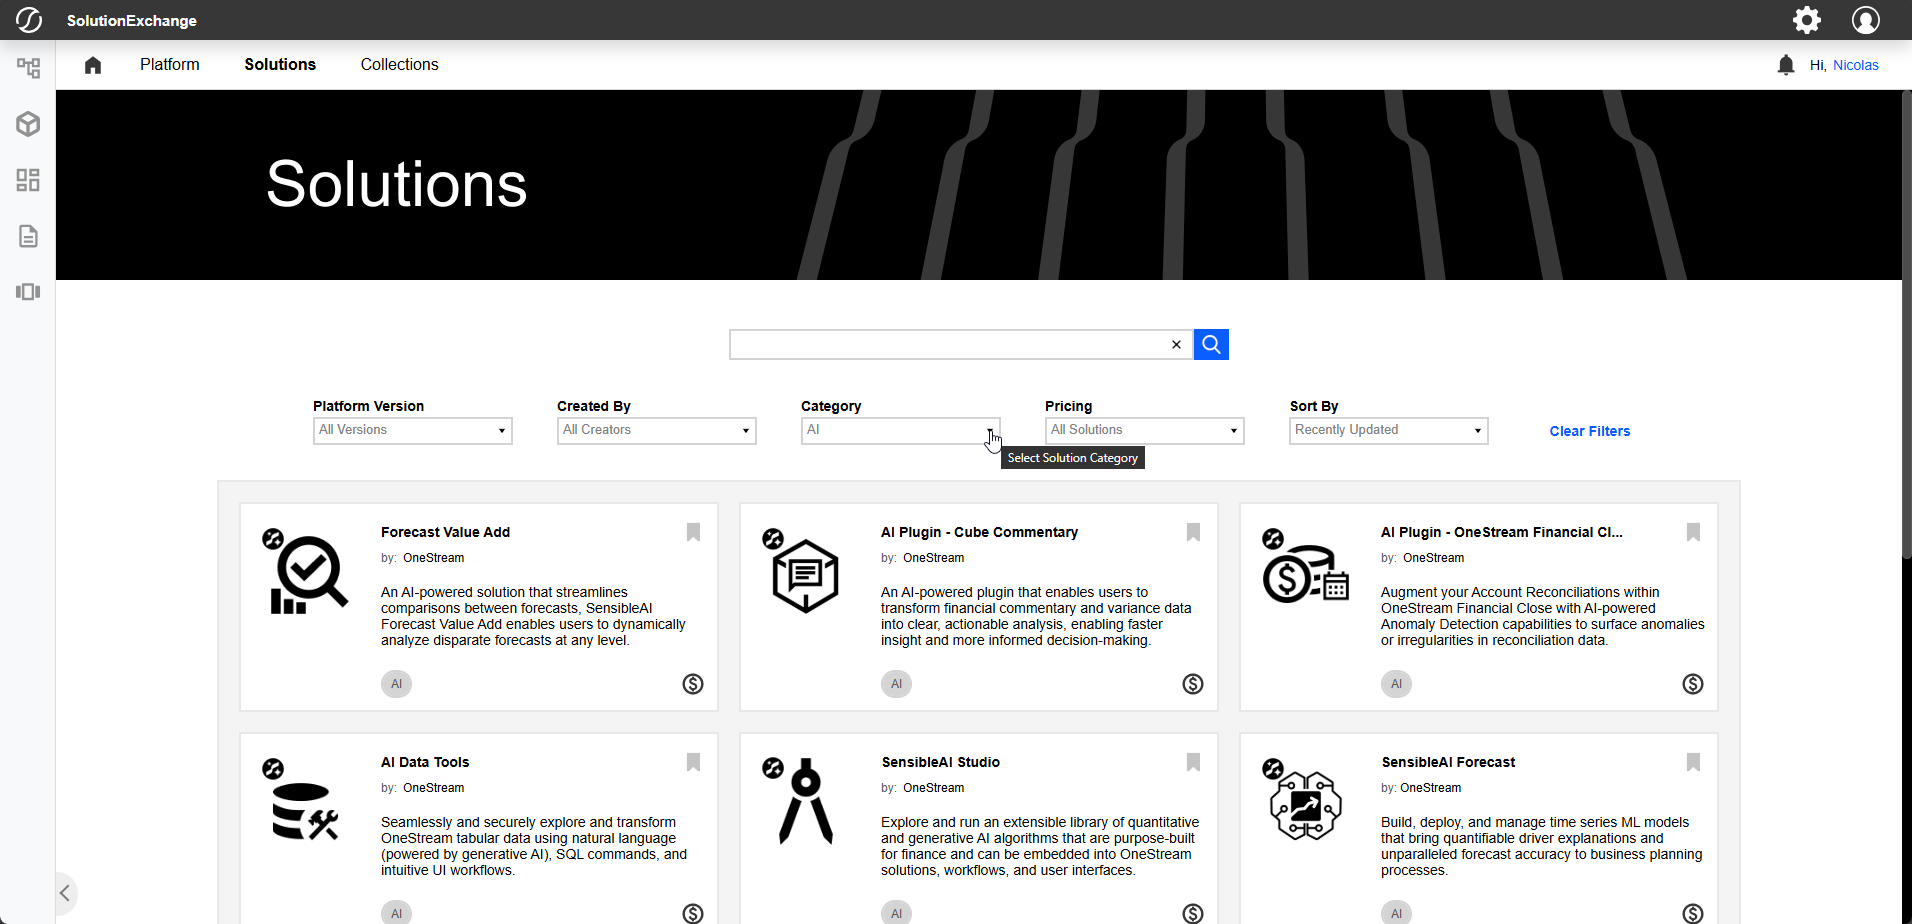
To begin, navigate to Solution Exchange from your browser and log in with your provided OneStream credentials. Once at the Solution Exchange Home Page, navigate to and select the Solutions tab.
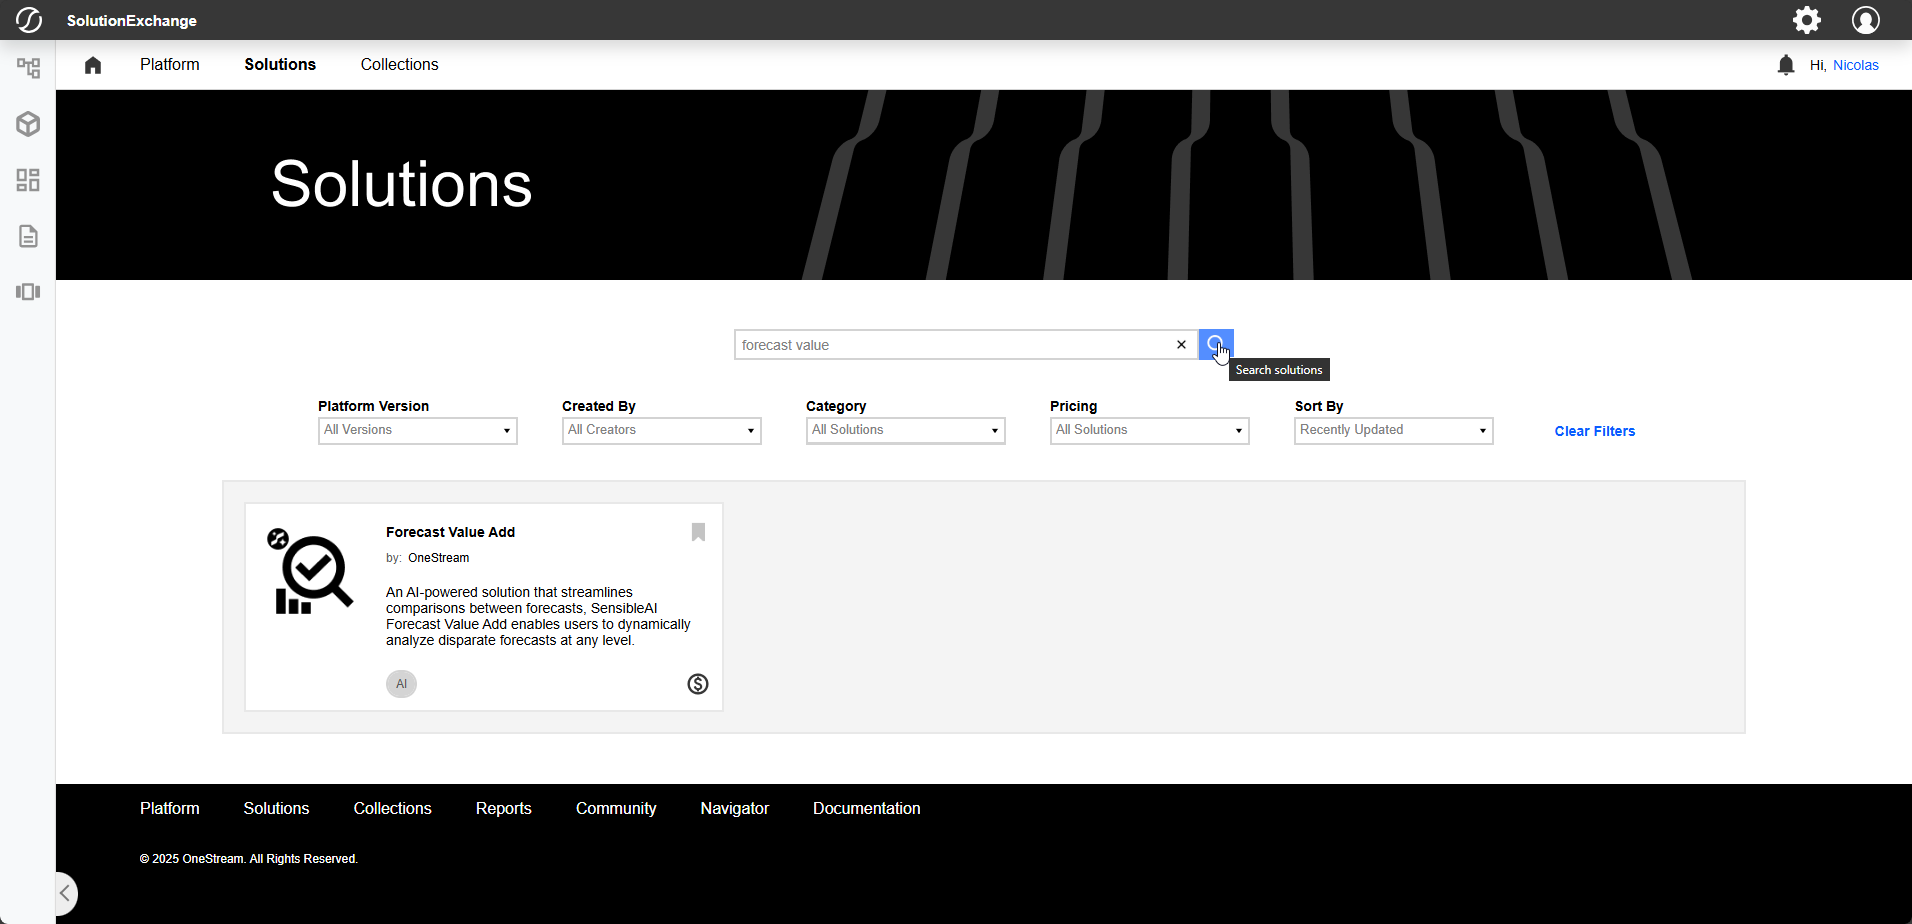
The solution you will be installing is SensibleAI Forecast Value Add. Search for the solution directly or use the filters to narrow down search results until your solution is visible. Select the solution to open its download page.
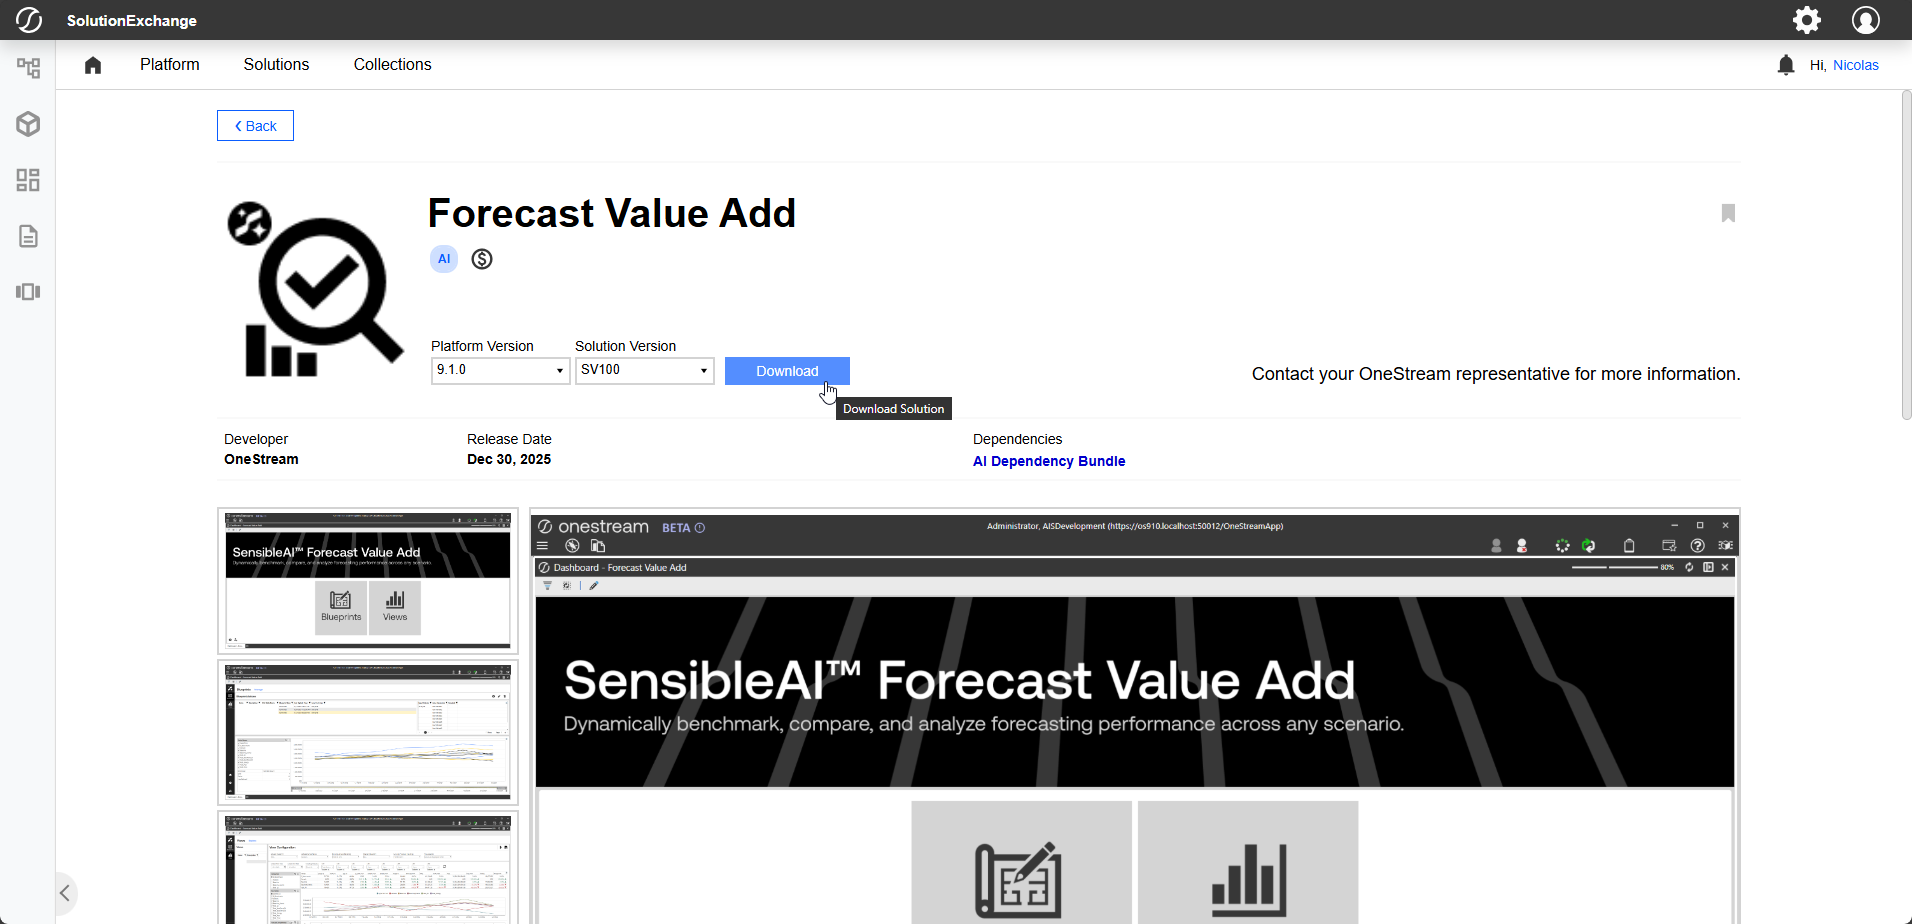
Ensure that the selected Platform Version matches the Platform Version you will be working with. Select the latest Solution Version, then click Download.
In some cases, you may be advised to download a specific, non-latest Solution Version for a given solution. The best version for you will be dependent on your Xperiflow Engine Version.
Install
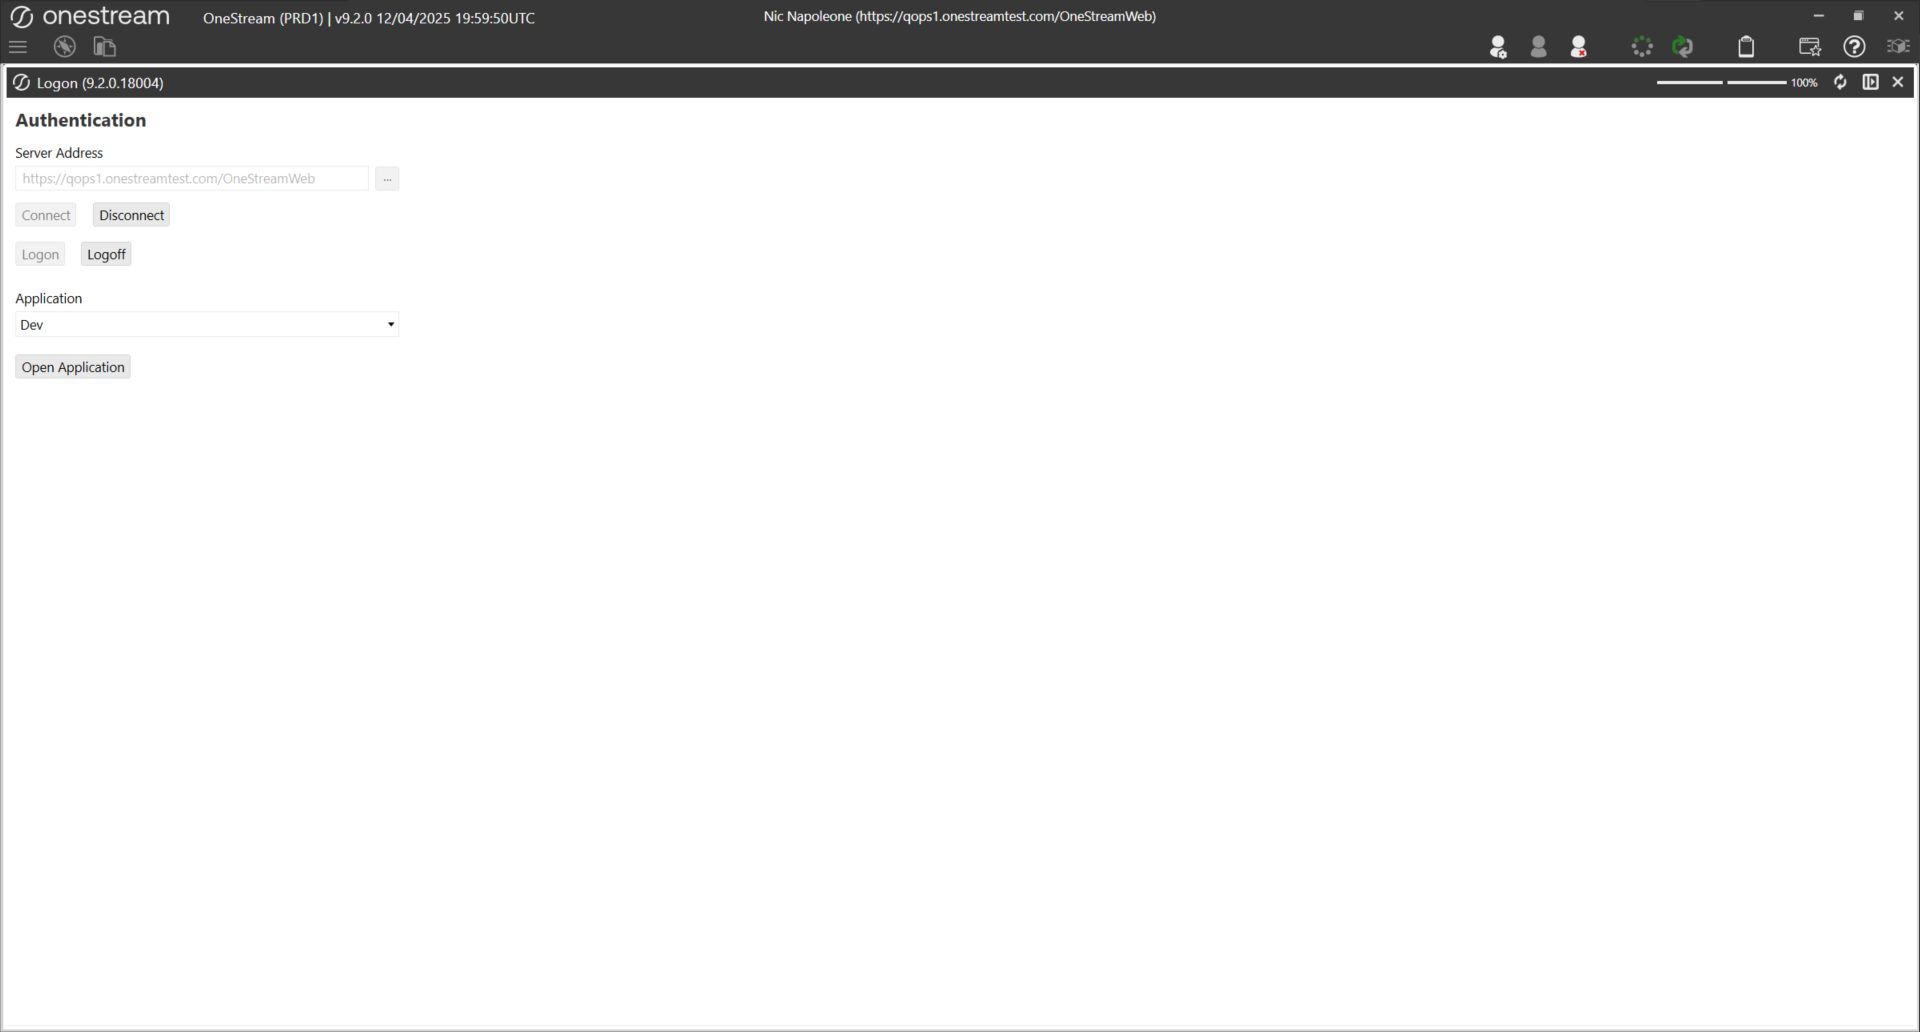
With your solution downloaded, open your OneStream Client, connect to your Server, log in, and select the desired Application for installing the new solution.
Make sure that your Platform Version matches your new solution’s Platform Version. Solutions may not launch or function properly on incorrect Platform Versions.
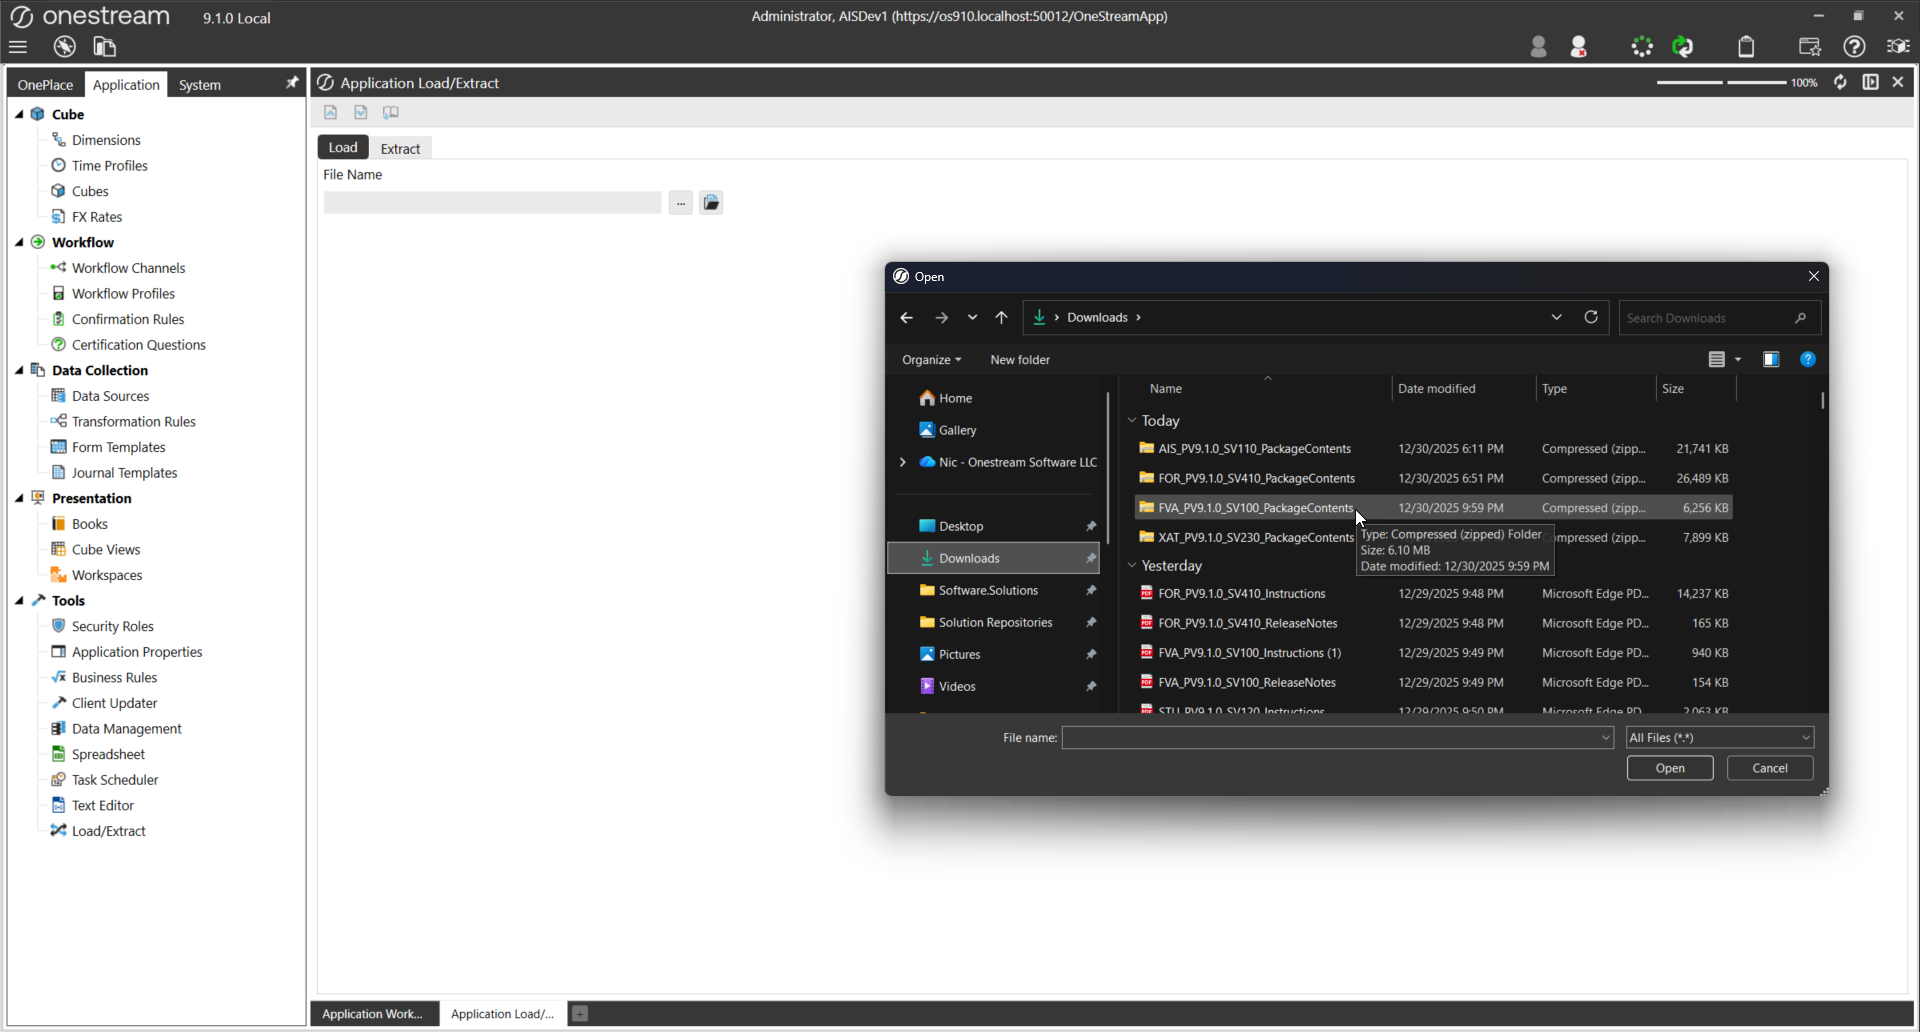
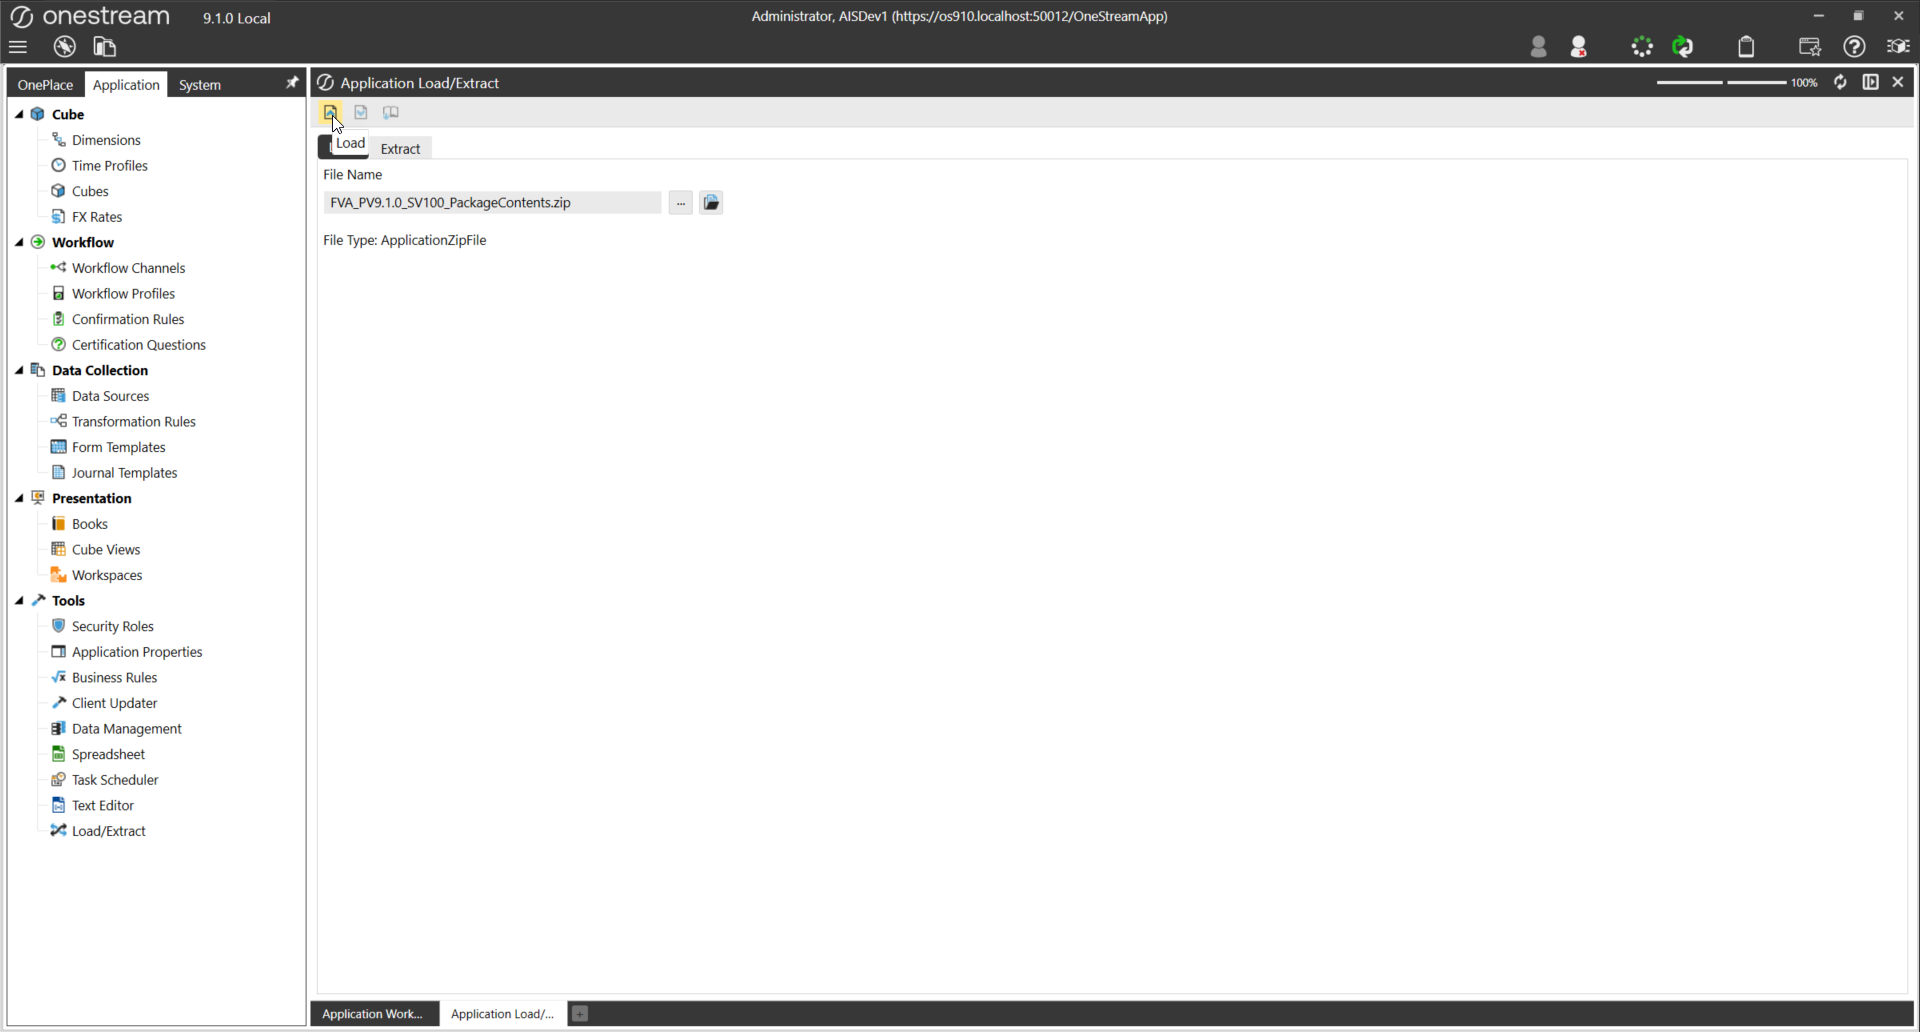
To upload your Solution, select the Application tab, then under Tools select Load/Extract.

Select the ellipsis … to open your local File Explorer. Select your downloaded Solution, then Open, and finally the Load button to upload the Solution to the environment.
If a copy of the solution is already present in the environment, you will likely receive an error during upload. If that is the case, delete or uninstall the prior solution to upload the new one.
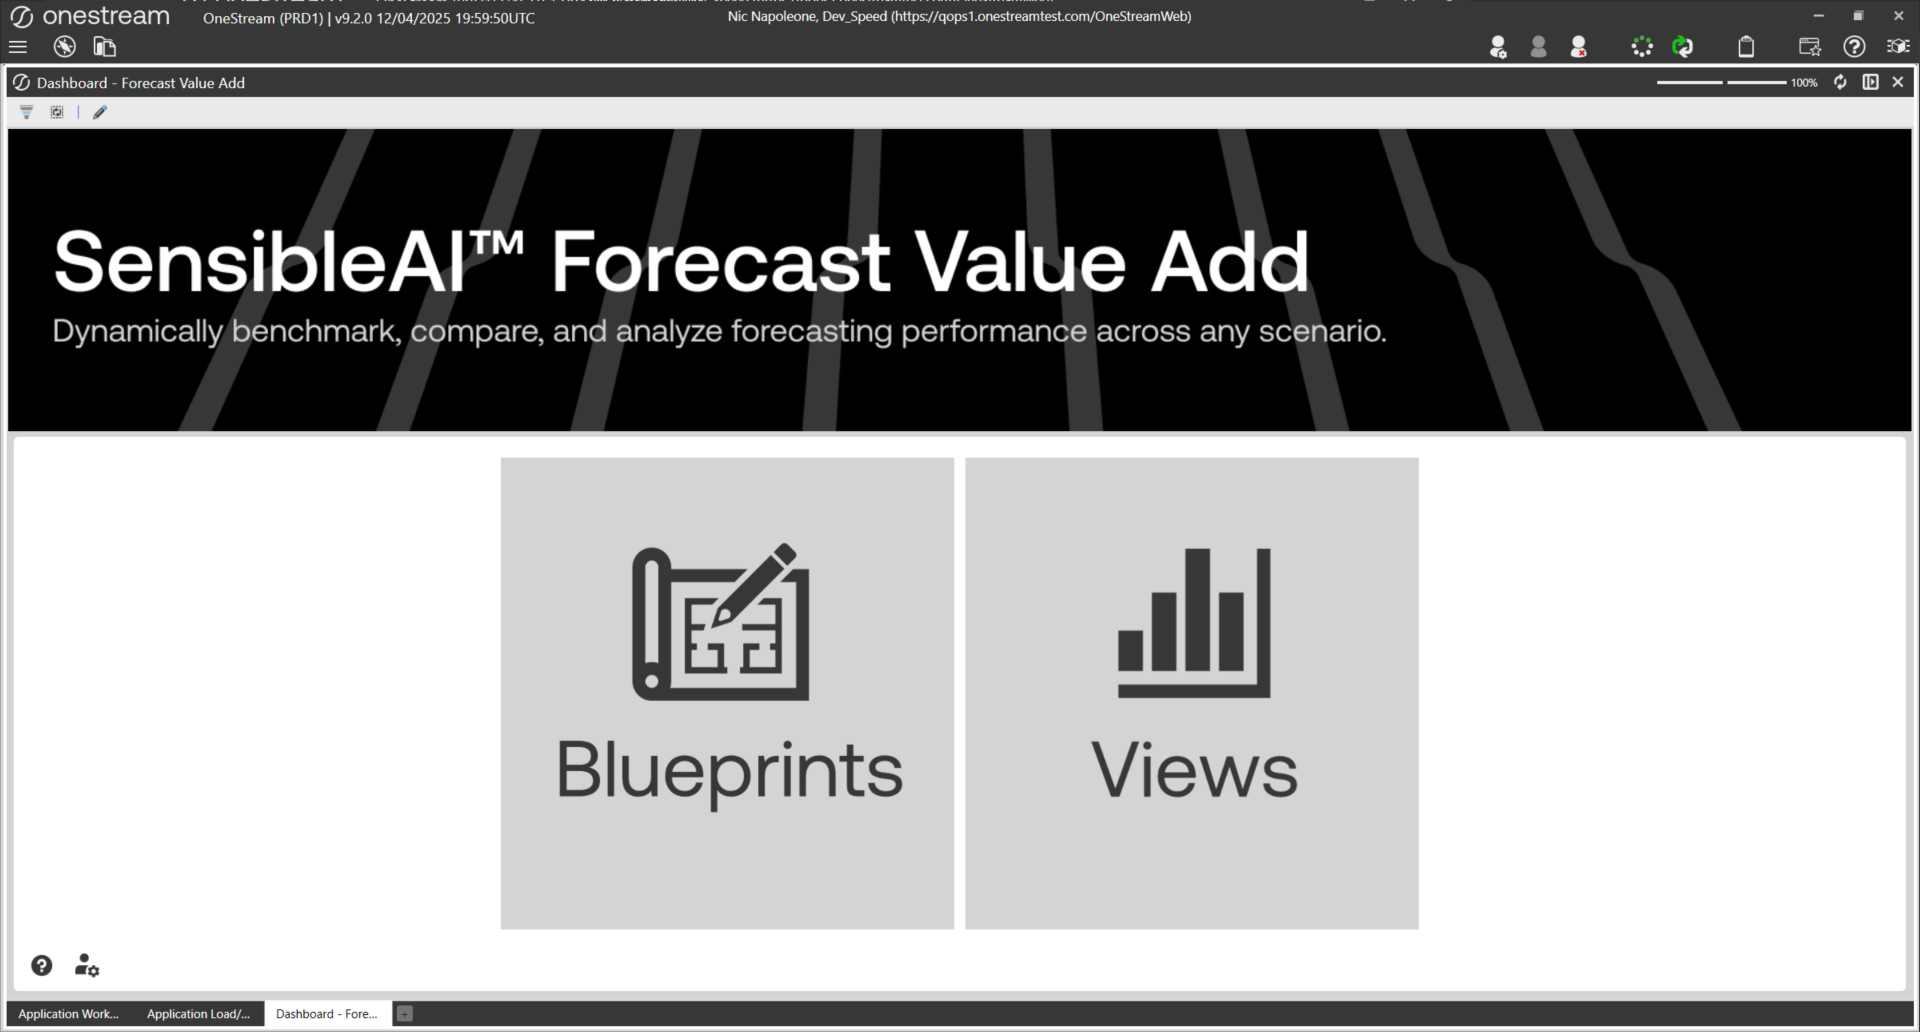
To verify the install completed successfully, open the Workspaces window under Presentation.
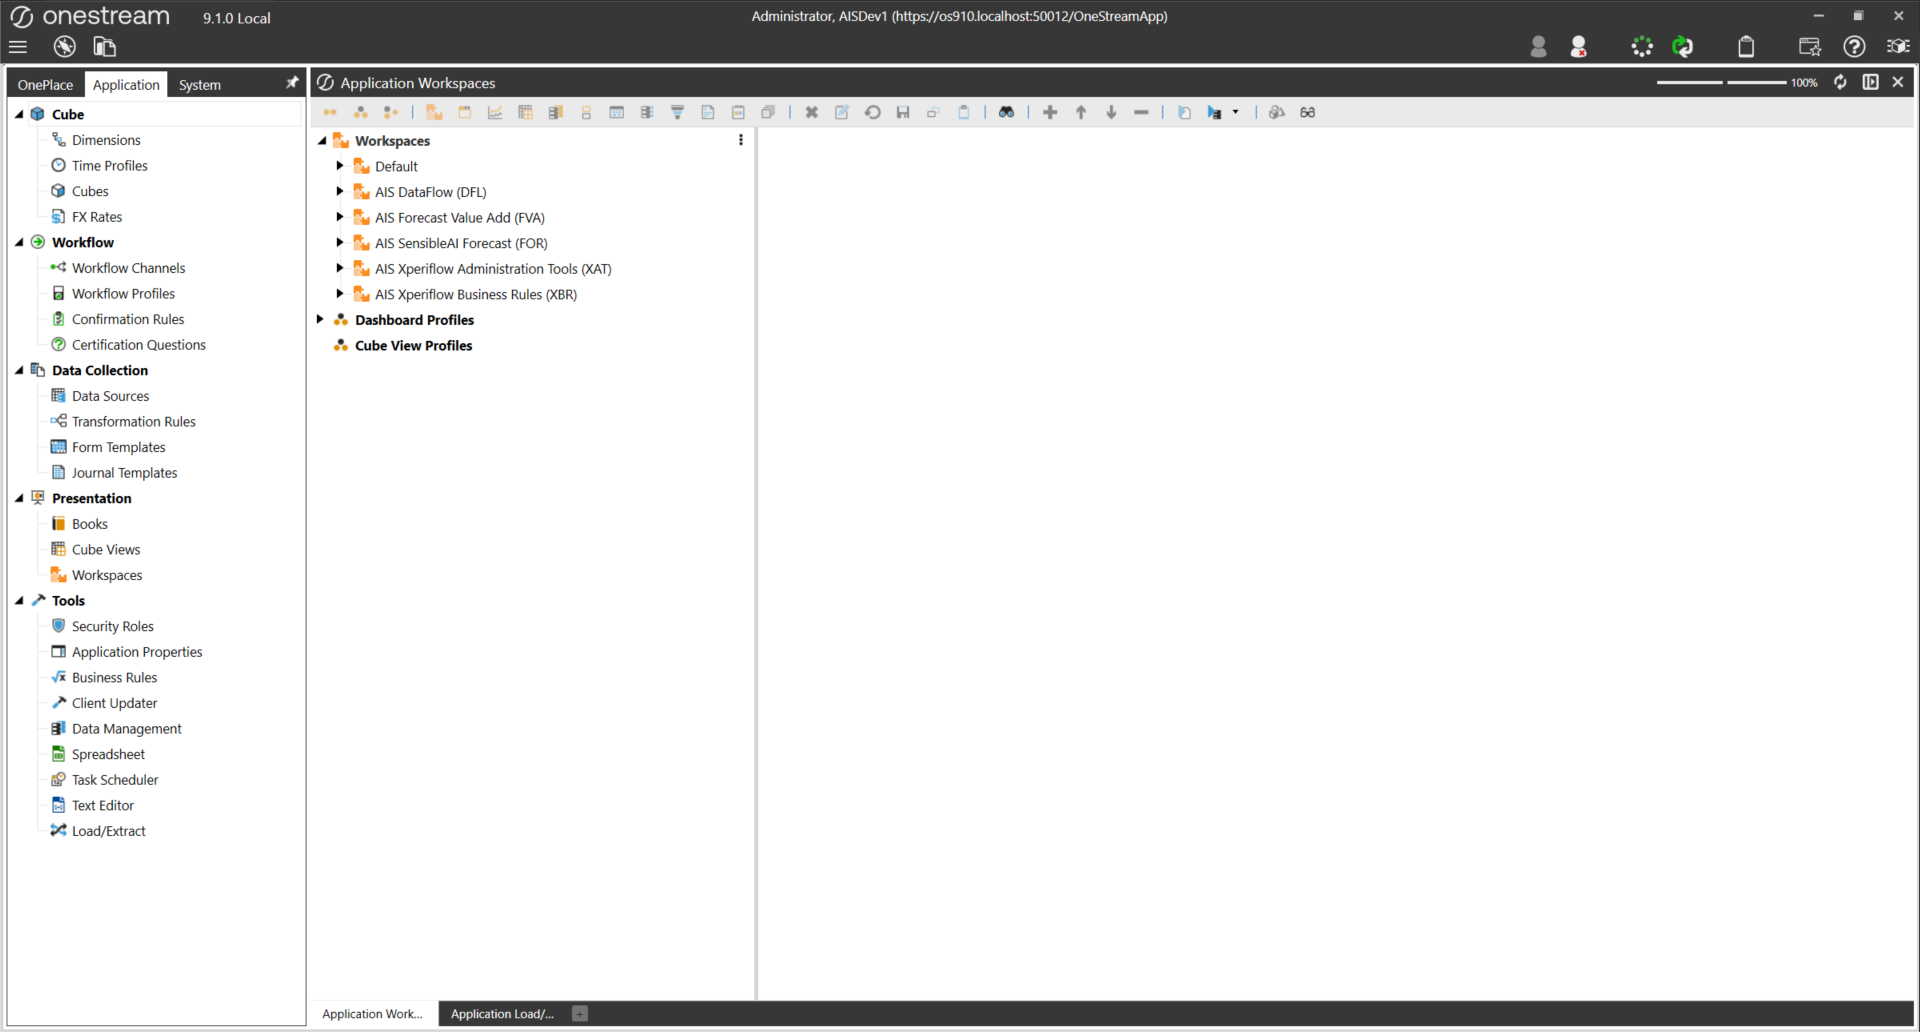
Forecast Value Add contains the AIS Forecast Value Add (FVA) Solution.
Solution Setup
The Forecast Value Add solution setup consists of just one step.
Create Tables
Click on the Create Tables button to generate Solution Tables. These are required for the solution to function. If any of these tables already exist, they will be preserved as needed.
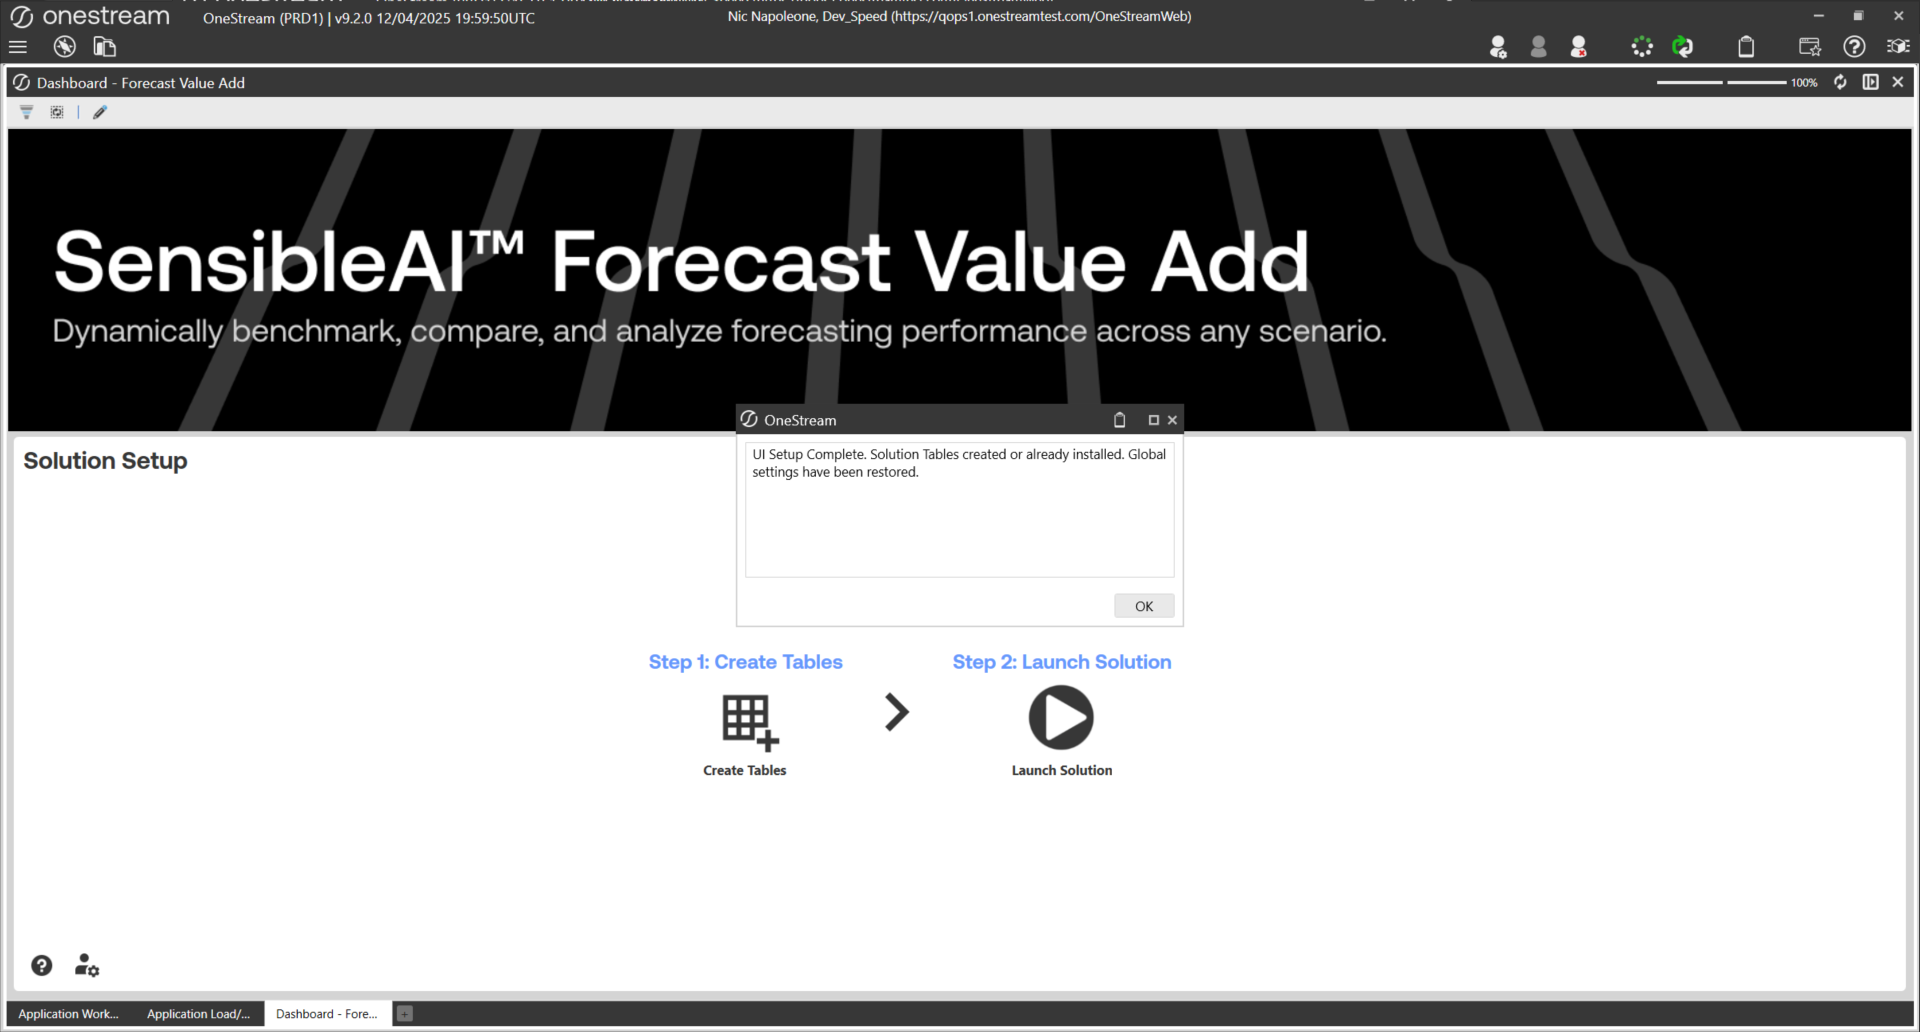
At this point the Forecast Value Add solution is ready to launch. Click the Launch Solution button to navigate to the Home Page. Final solution checks will be performed and setup will complete.